The Radical Eye
'Each of these photographs serves as inspiration for me in my life; they line the walls of my home and I consider them precious gems. I want people to think, 'I've never seen anything like that before, never knew this kind of thing existed' - just as I did when I first saw these photographs.' -- Sir Elton John.
The Radical Eye is a modernist Photography exhibition from the Sir Elton John Collection. It focuses on the 'Coming of age' period of photography which was predominantly the 1920s-50s. During this time photographers main focuses were seeing how their own experiments could impact how people see the world. The exhibition content has rarely been exhibited in the UK, and therefore allows us some insight into Elton Johns photography life. Elton John began his collection in 1991 and has since collected over 8000 pieces which vary from the 20th century to the present day.
|
|
|
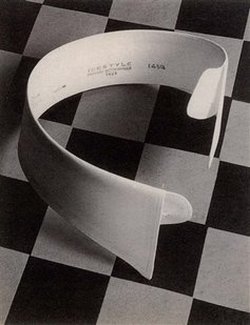
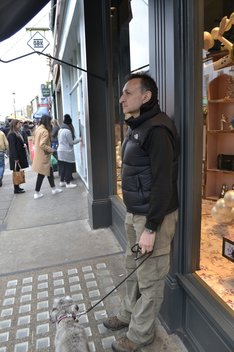
The subject of this photograph is a collar on a tile floor. The collar is curled which adds dimension to the photograph. Aditionally, the collar contrasts with the background as it is a block colour against a pattern. There is also writing on the inside of the collar which adds interest and makes the viewer wonder about the context.
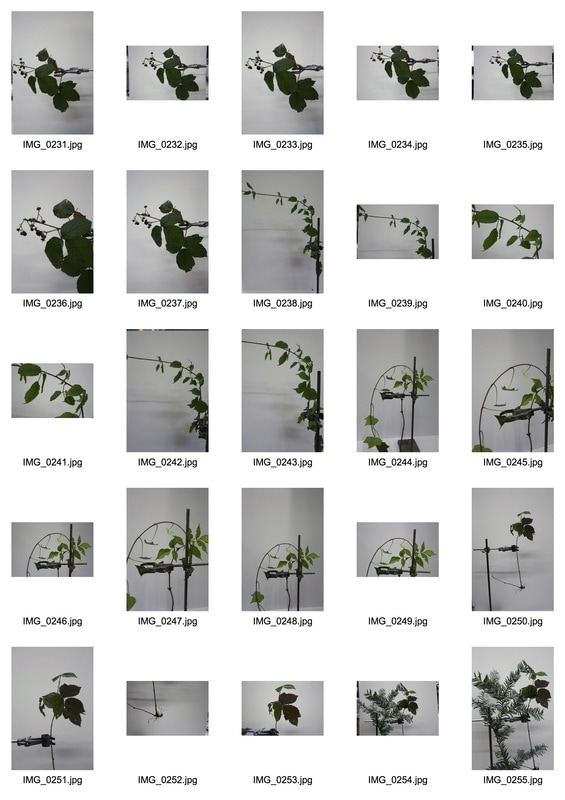
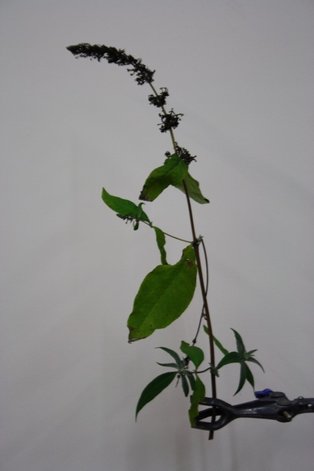
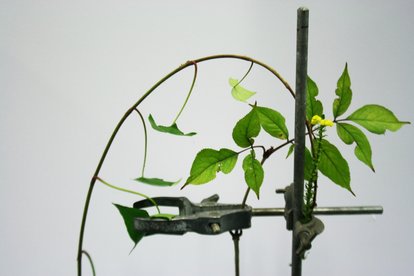
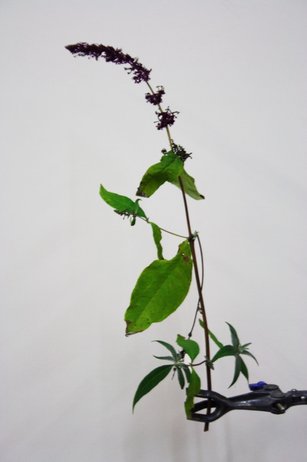
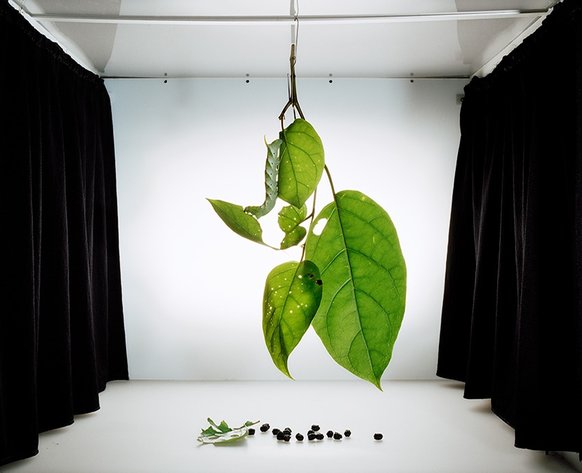
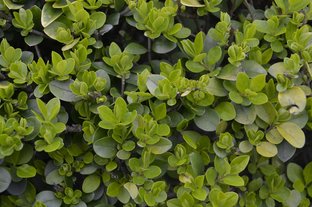
Structure in Nature
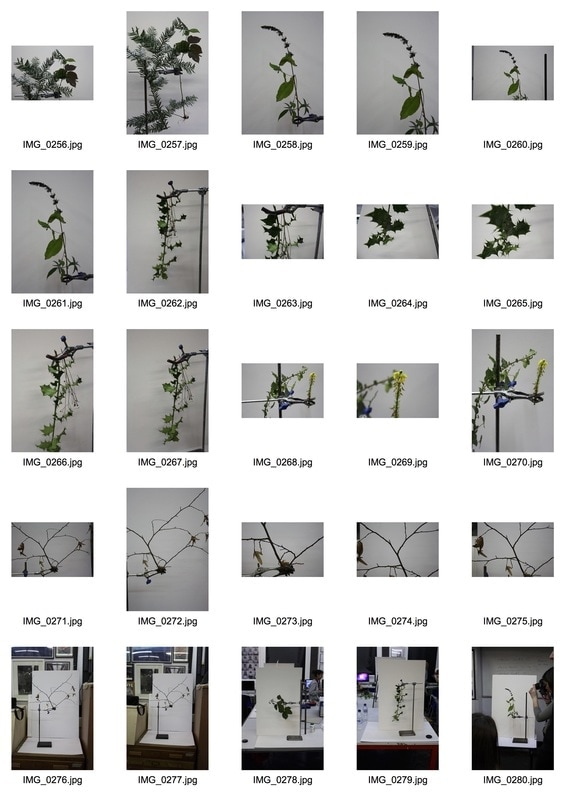
For this task I went to Coldfall Woods and collected different plants, leaves, twigs etc. I took them back to the classroom and set up a white backdrop with a science clamp in front of it to hold the subject. The white backdrop was used in response to Sanna Kannisto who inspired this task. I took photos from different angles and experimented with different ways of distorting the photo. The white background created contrast and enables you to see all the details in the structure of the plant.
Edits: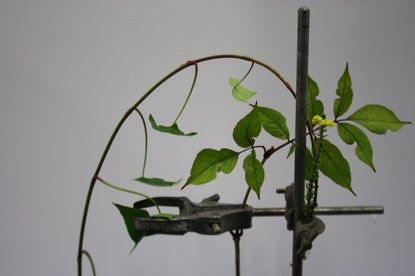
|
To create this, I used the quick selection tool to select the parts of the plant I thought needed brightening.
|
Sanna Kannisto
Sanna Kannisto is an artist from Finland who explores nature in art and science and the ways which we approach them. She uses a white backdrop to create contrast with the subject- which draws more attention to it. When the subject is taken out from its natural surroundings, the eye is drawn to different aspects of it than before.
|
|
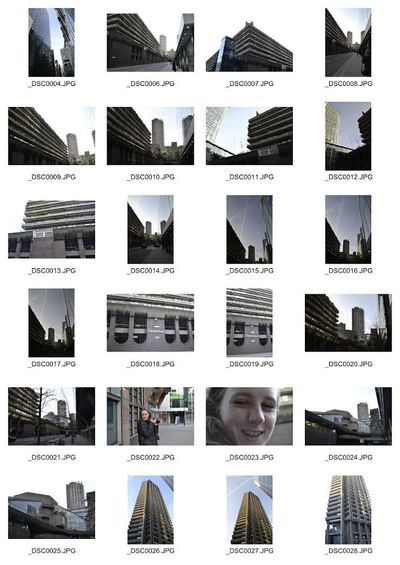
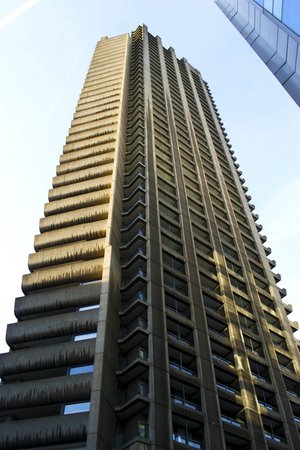
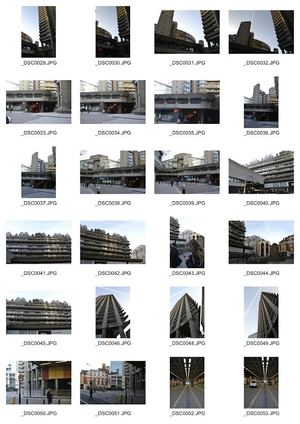
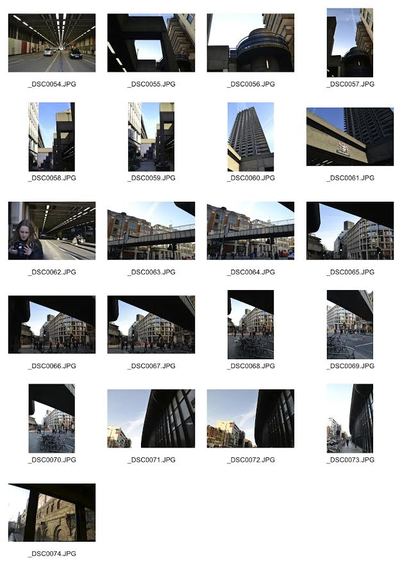
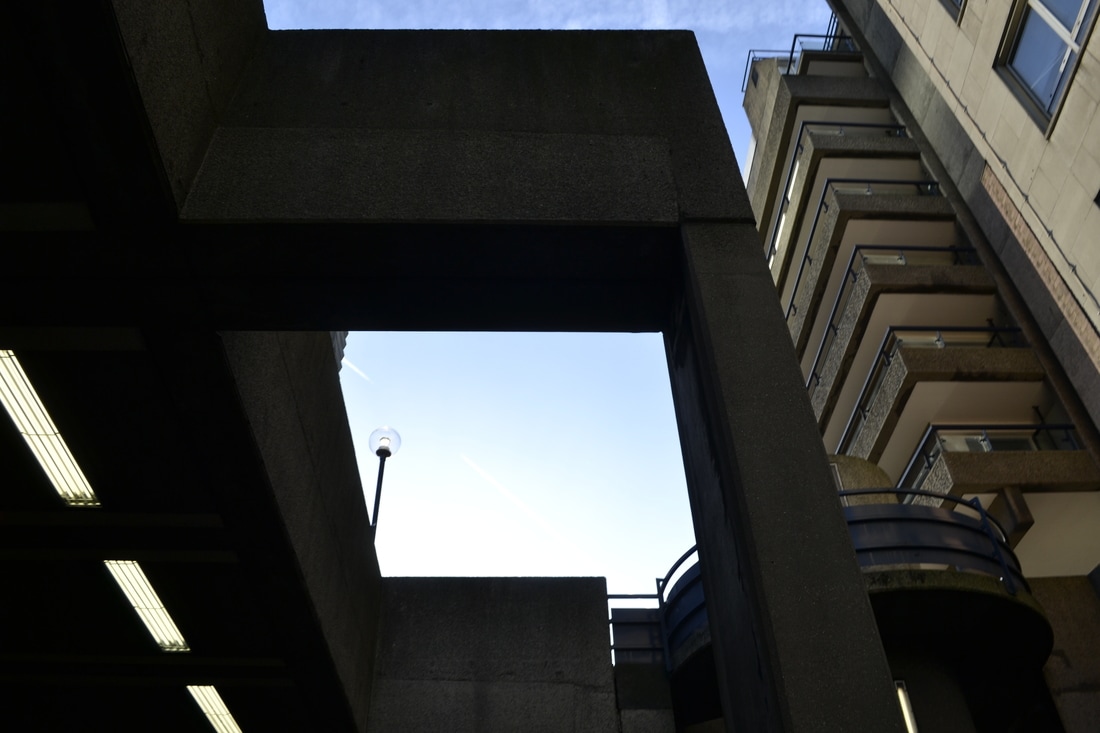
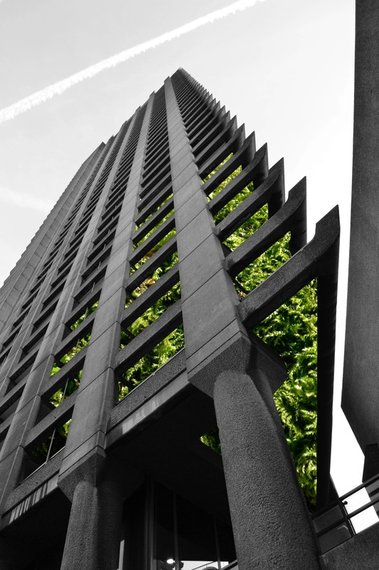
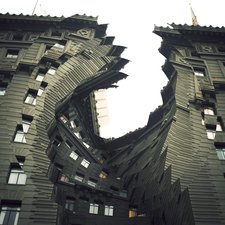
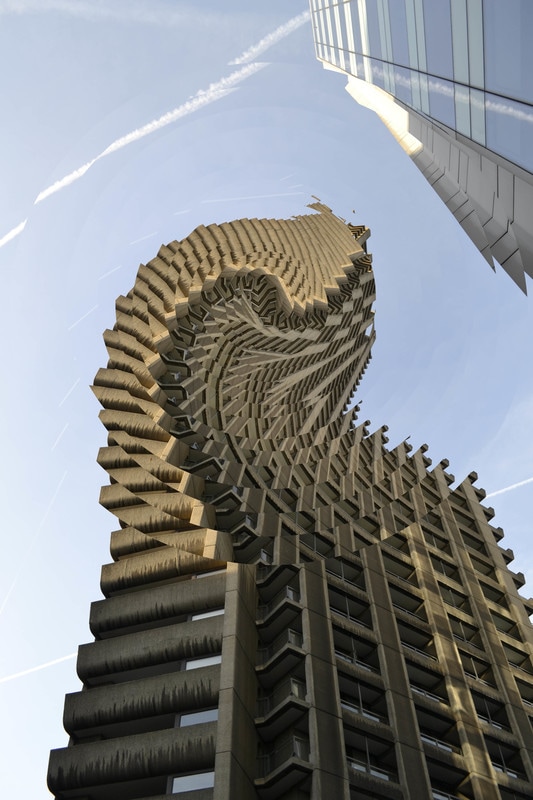
Brutalism
For this task, I went to central and took photos of buildings around the Barbican centre.
|

|
|
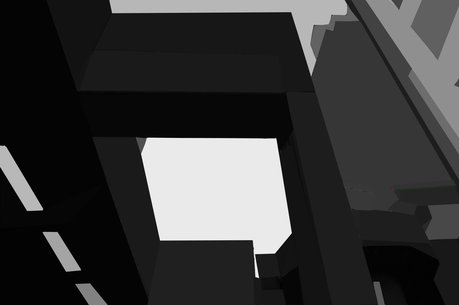
Screen Printing
The effect of screen printing takes the colour of an area, finds it's mid-tone and blocks the selected area in that new colour. On photoshop, you can achieve this using the polygonal lasso tool. After you have selected the area which you would like average the colour of, you select the filter tab, go to blur and select average. Keep doing this until the entire photo has been averaged in different sections. The size of the sections can be as large or small as you like, depending on how accurate you want the result to be.
|
|
I thought this was a good image to turn into a screen print as it had a lot of simple shapes to average out which meant that the screen print didnt lose too much of the detail and ended up looking the same as the original (except the lamppost) as opposed to being changed too much.
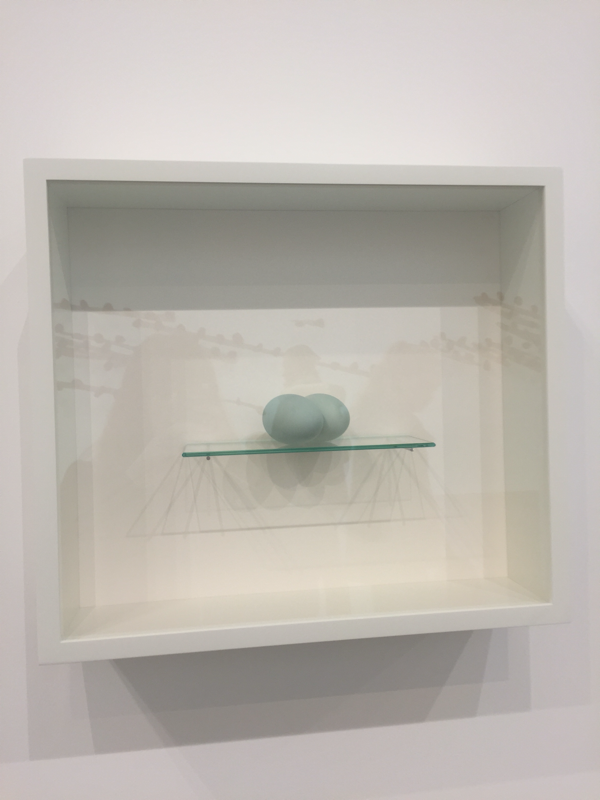
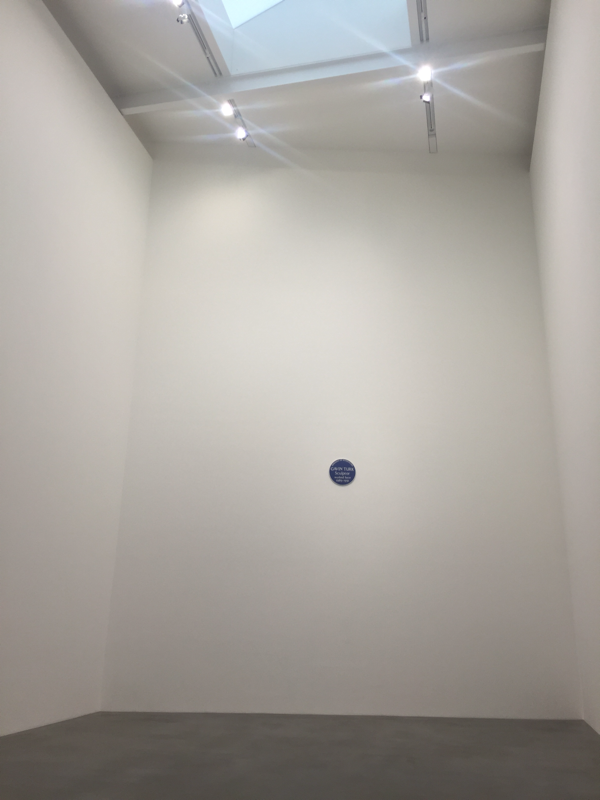
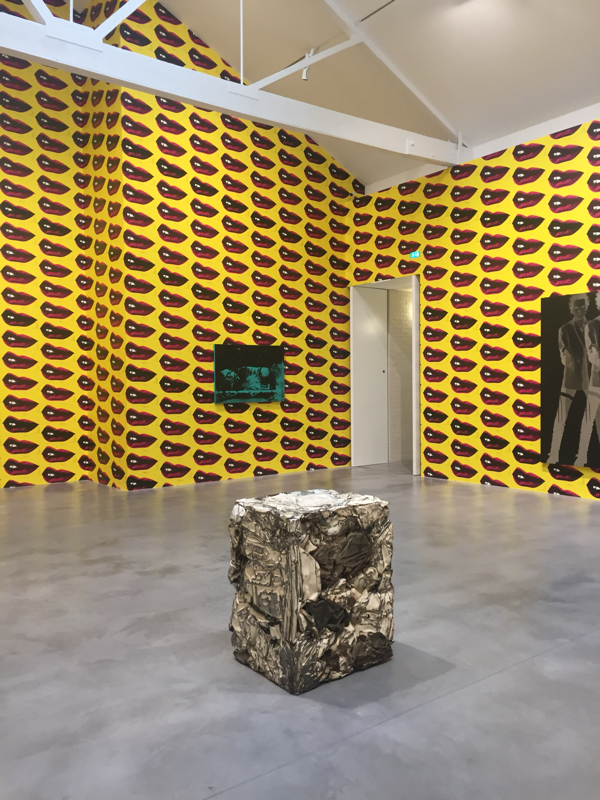
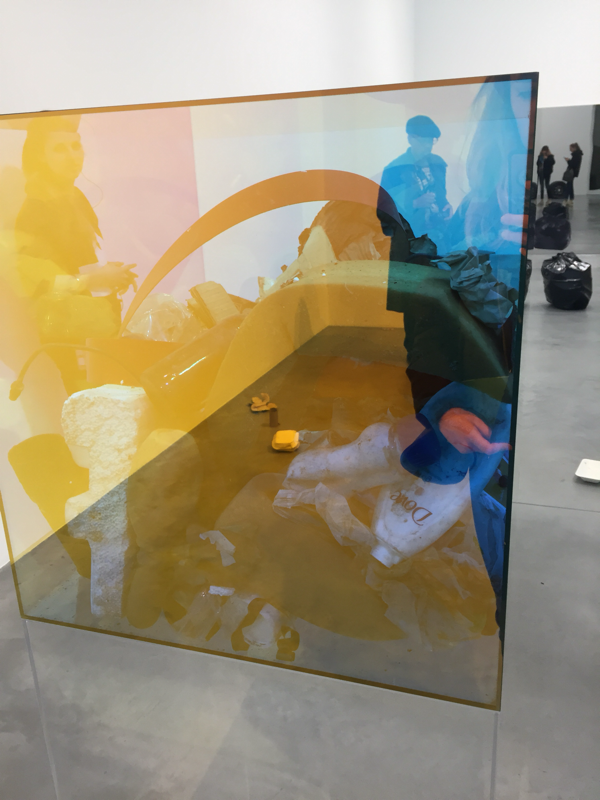
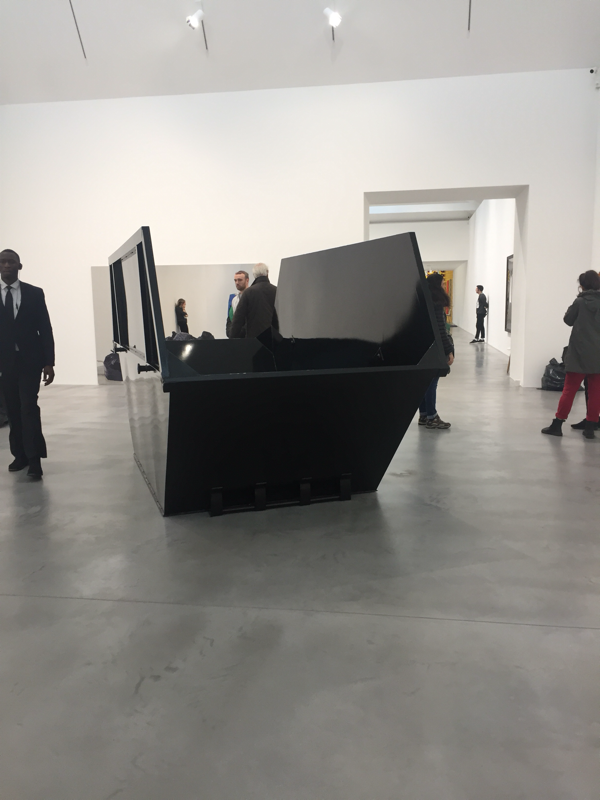
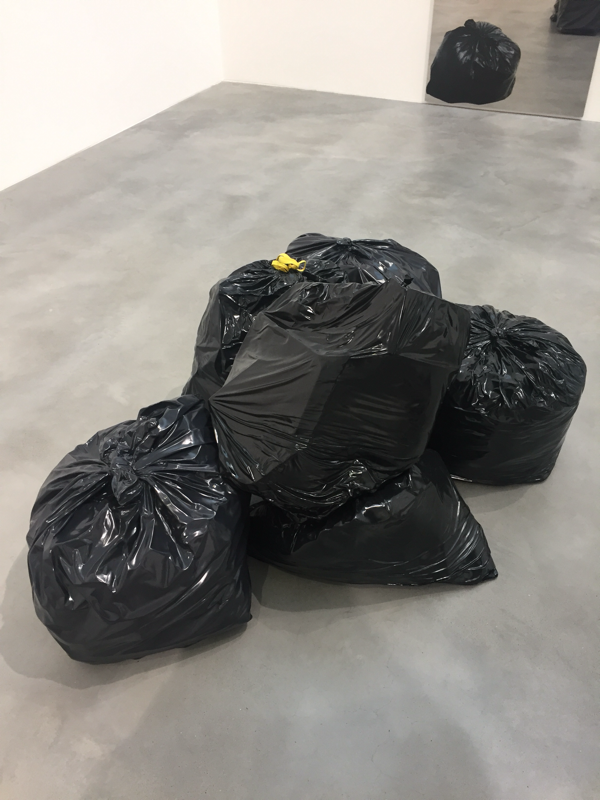
Newport Street Gallery: Gavin Turk
For my second gallery visit I went to the Newport Street Gallery where Gavin Turk was being exhibited. The exhibition 'Who What When Where How and Why' spans 3 decades of Turks career. A lot of his work links to structure as there are various models and sculptures. Each of these has it's own structure and form and some of them even move and make sounds.
Below are some photos I took at the exhibition:


After the exhibition I wanted to do some more research into Gavin Turk and his work, and i found an interview of him on Youtube:
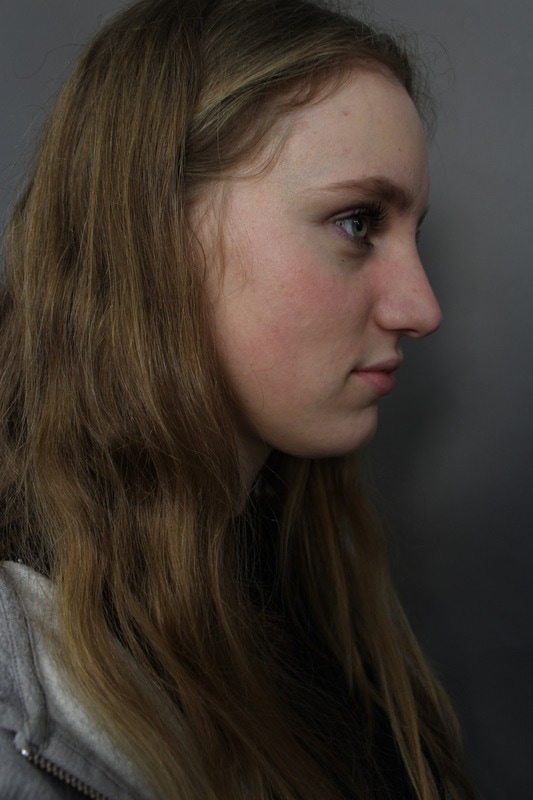
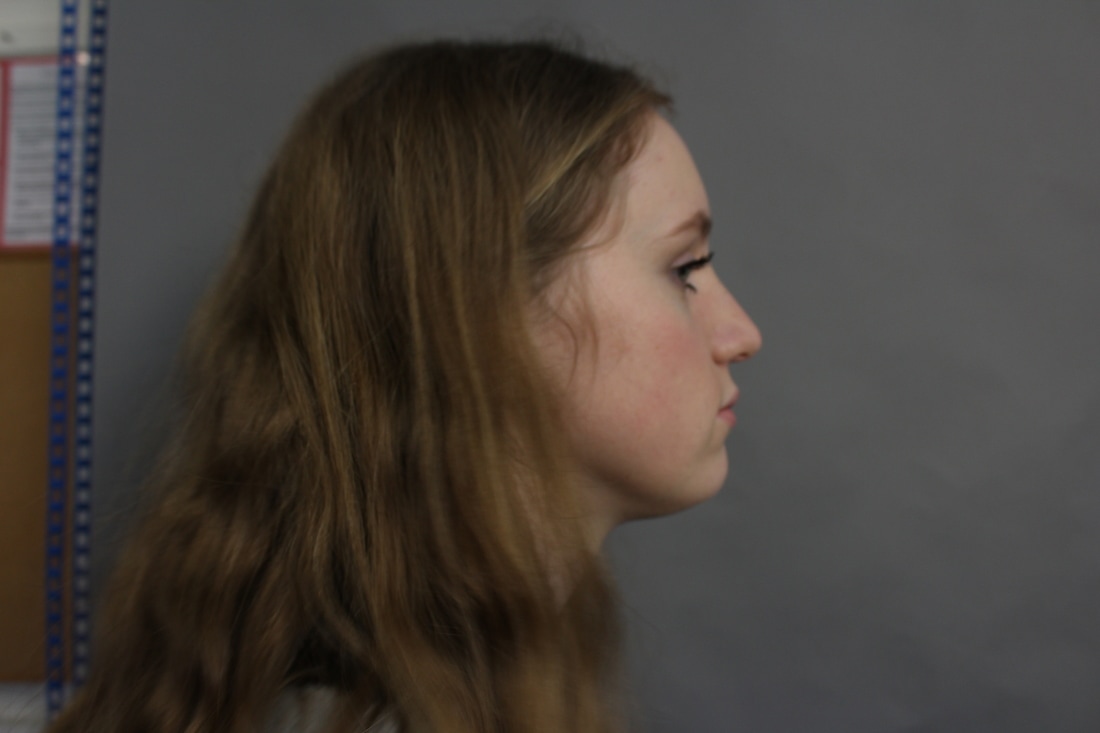
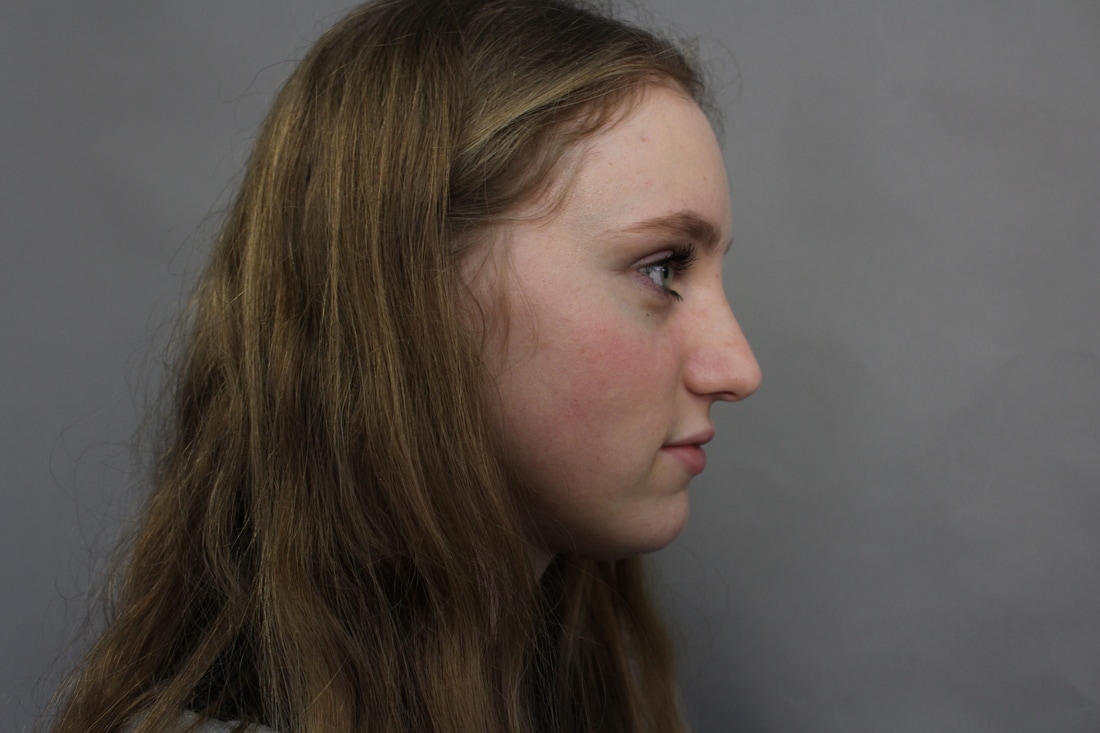
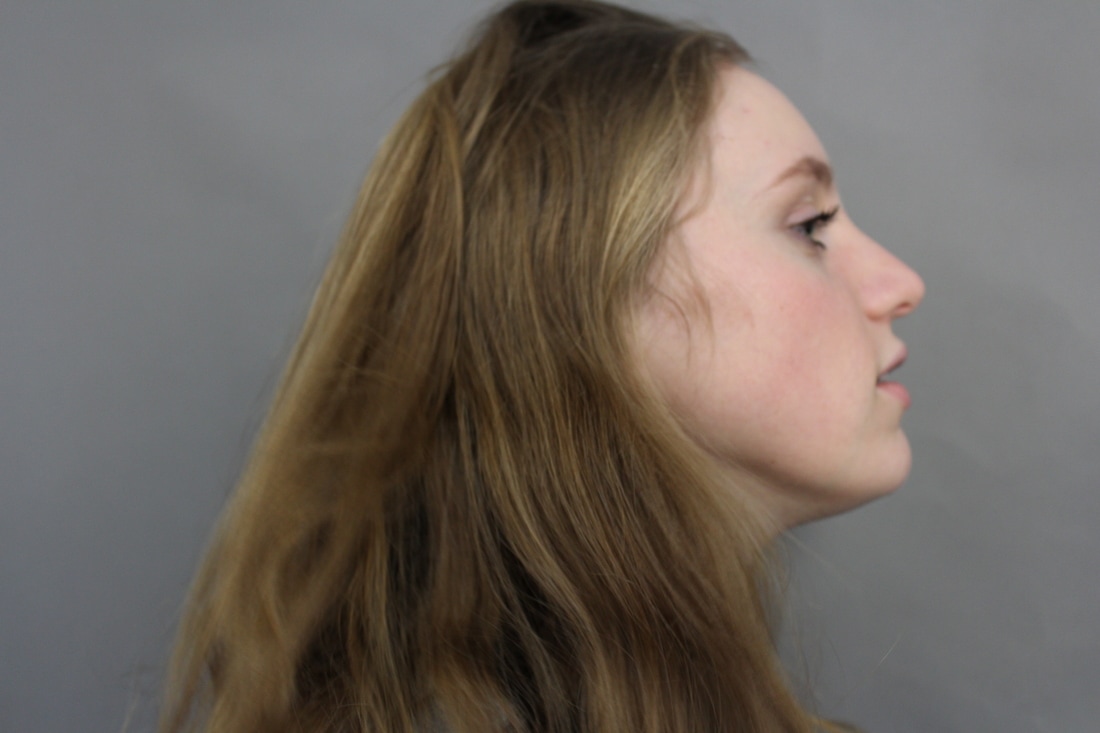
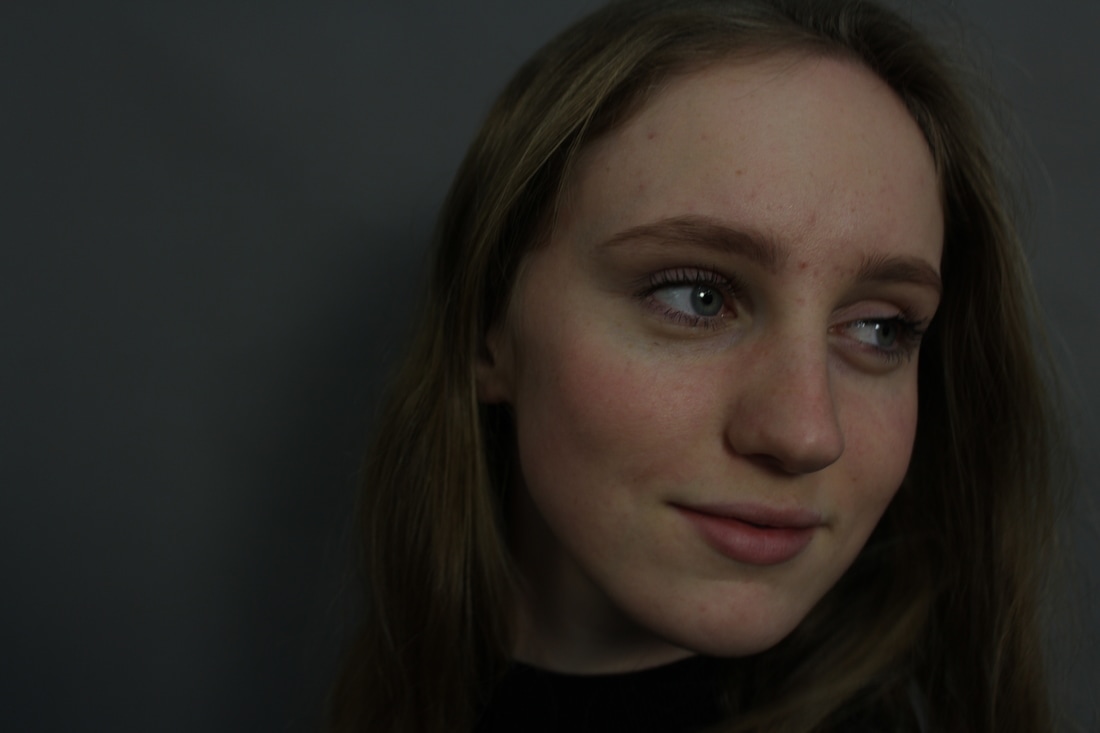
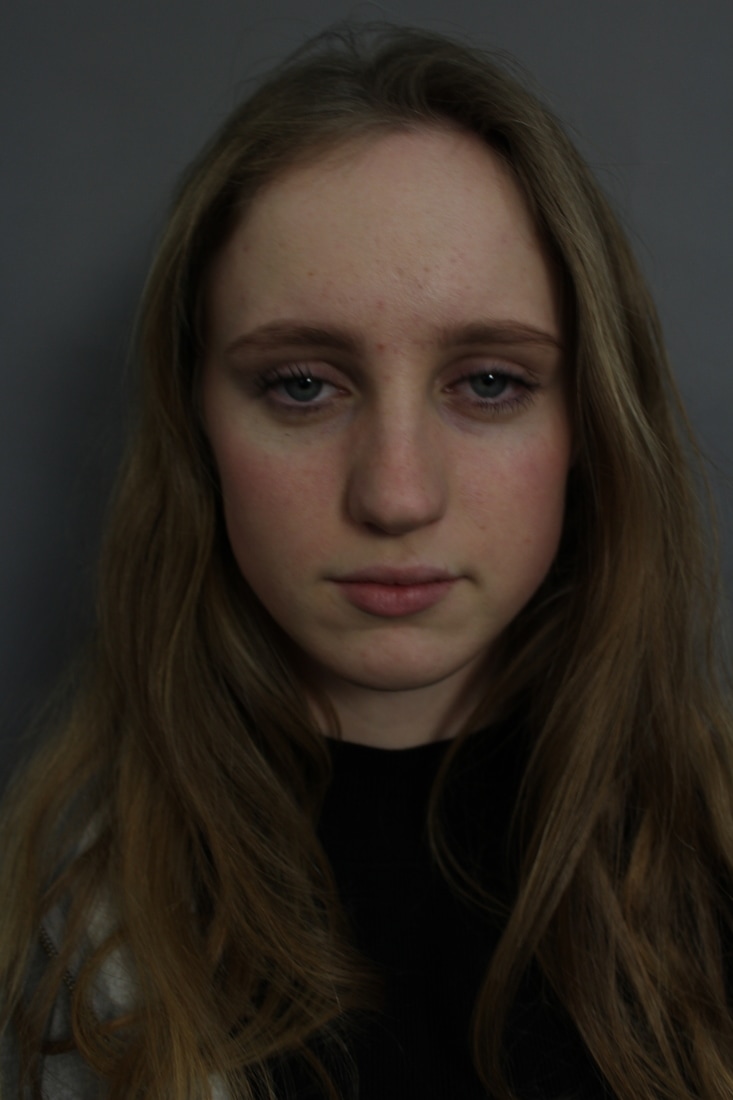
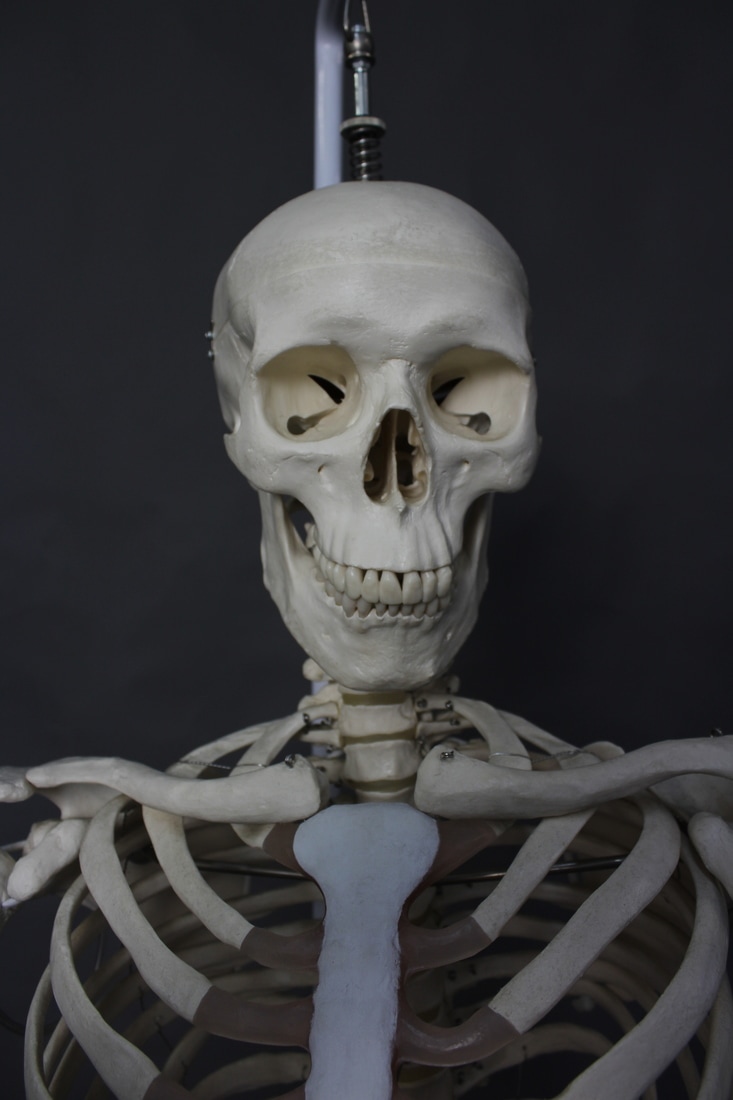
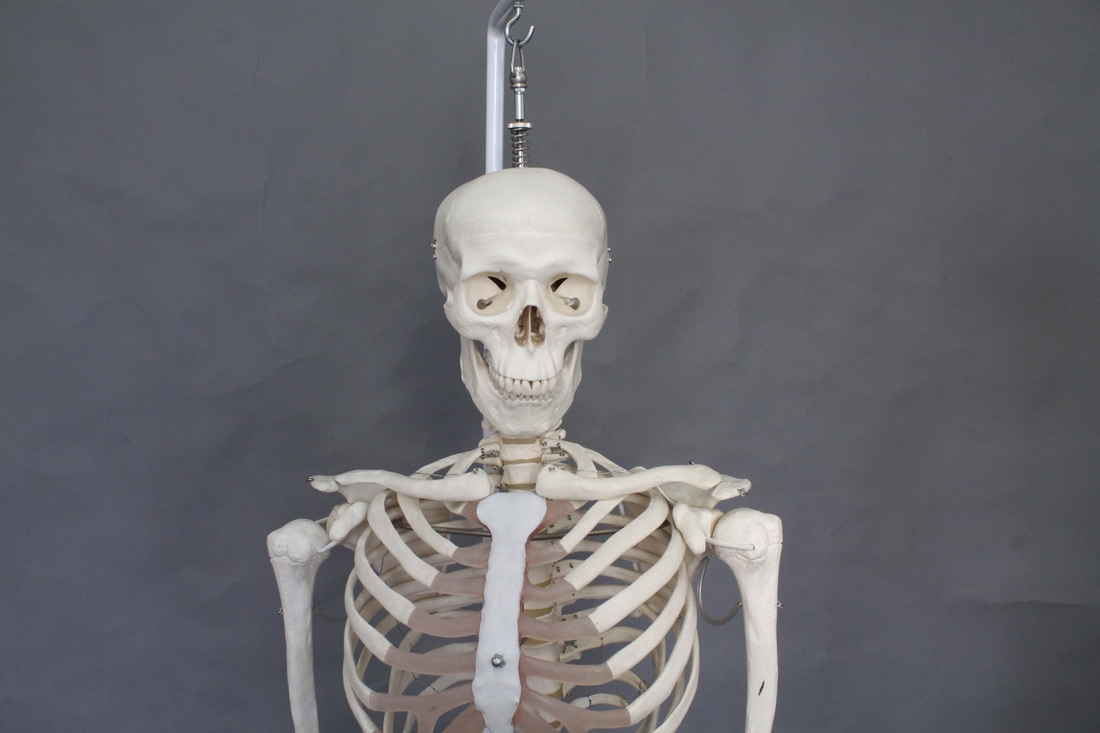
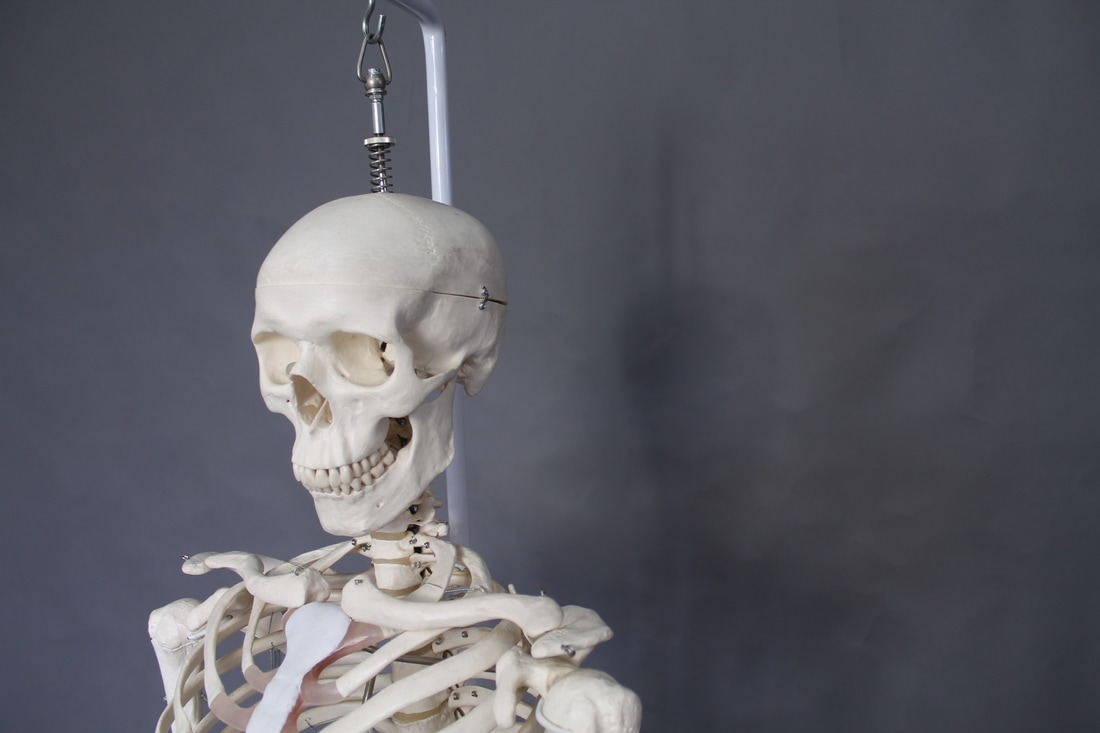
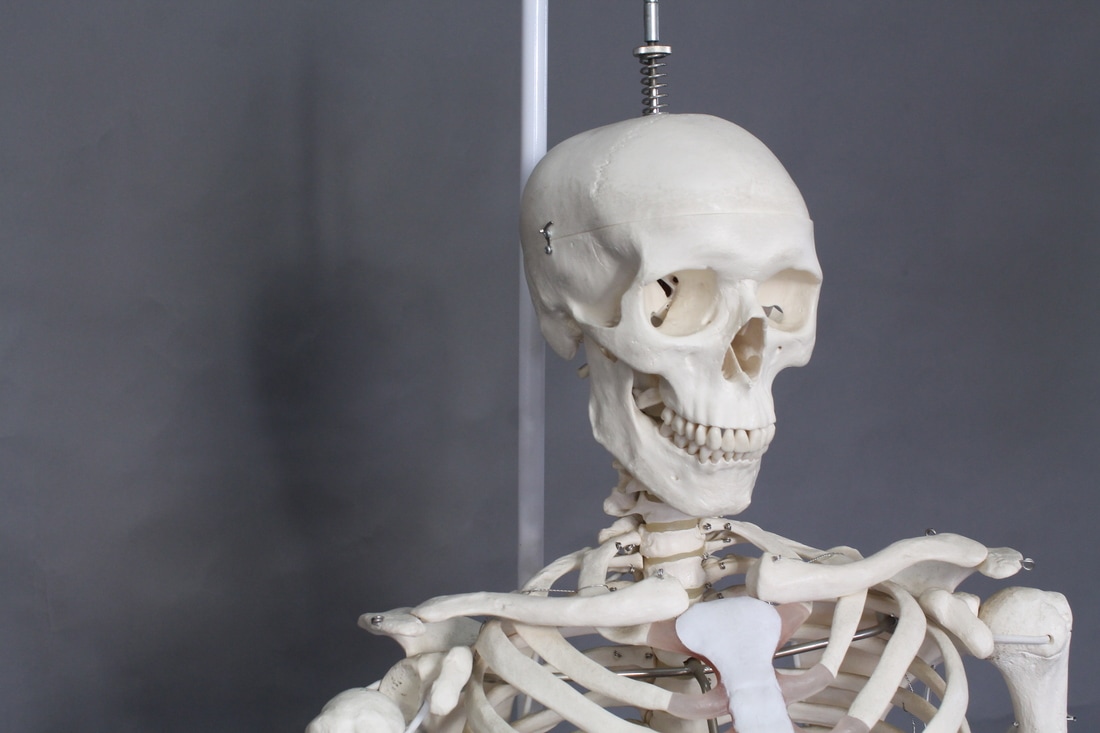
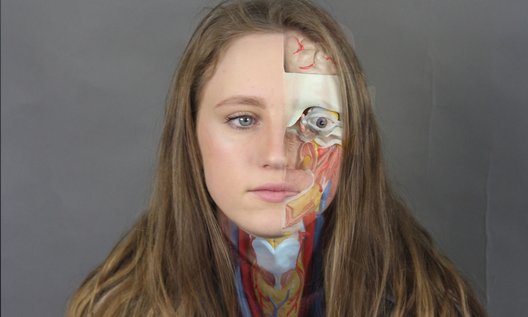
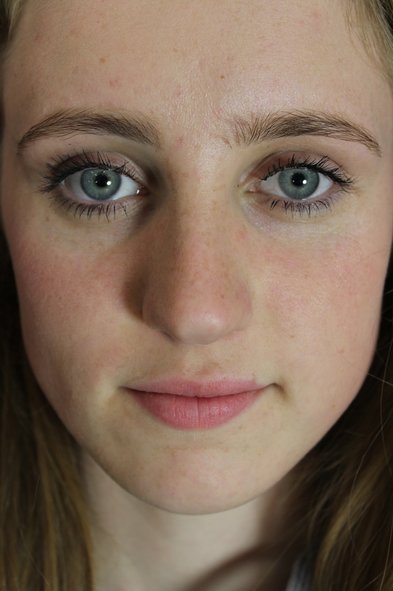
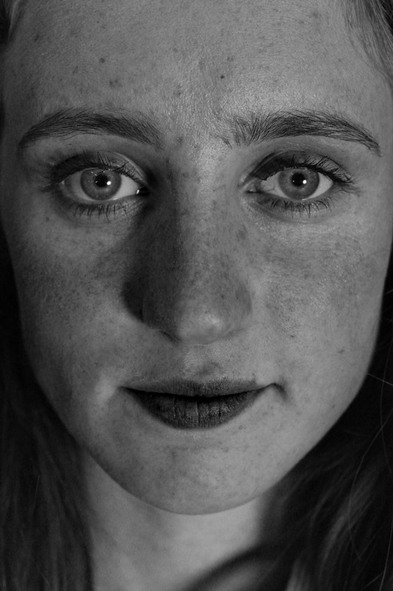
Structure of the body
For this task I took portraits of somebody, and then photos of a skeleton. I tried to take them from different angles to focus on different features of the face. I developed these photos by opening them in photoshop and layering them on top of one another. I used the rubber tool (on a low hardness to make sure the lines weren't harsh and it looked more natural) to remove the top layer (the portrait) and reveal the skeleton through.

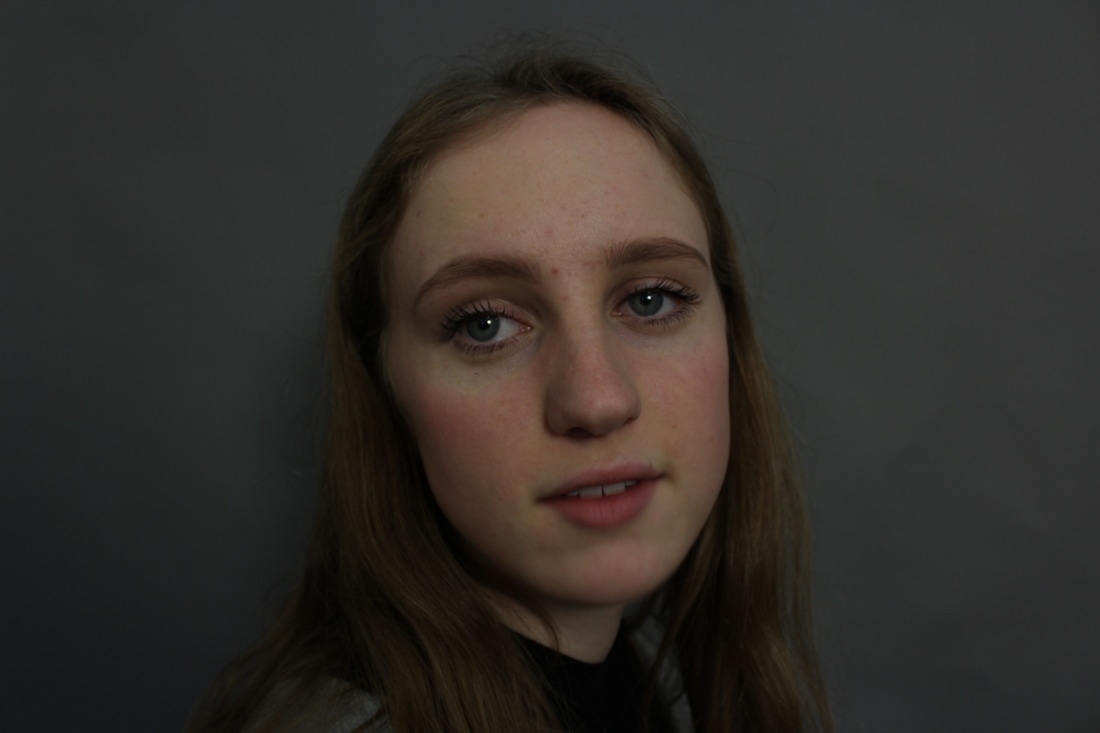


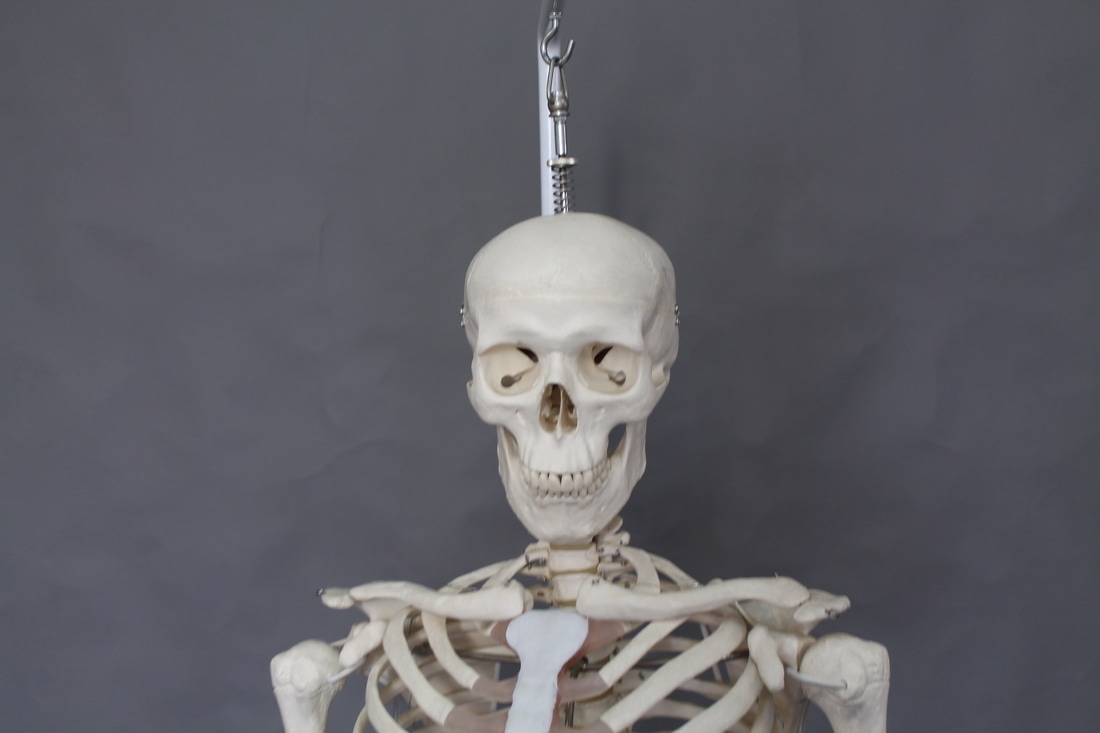
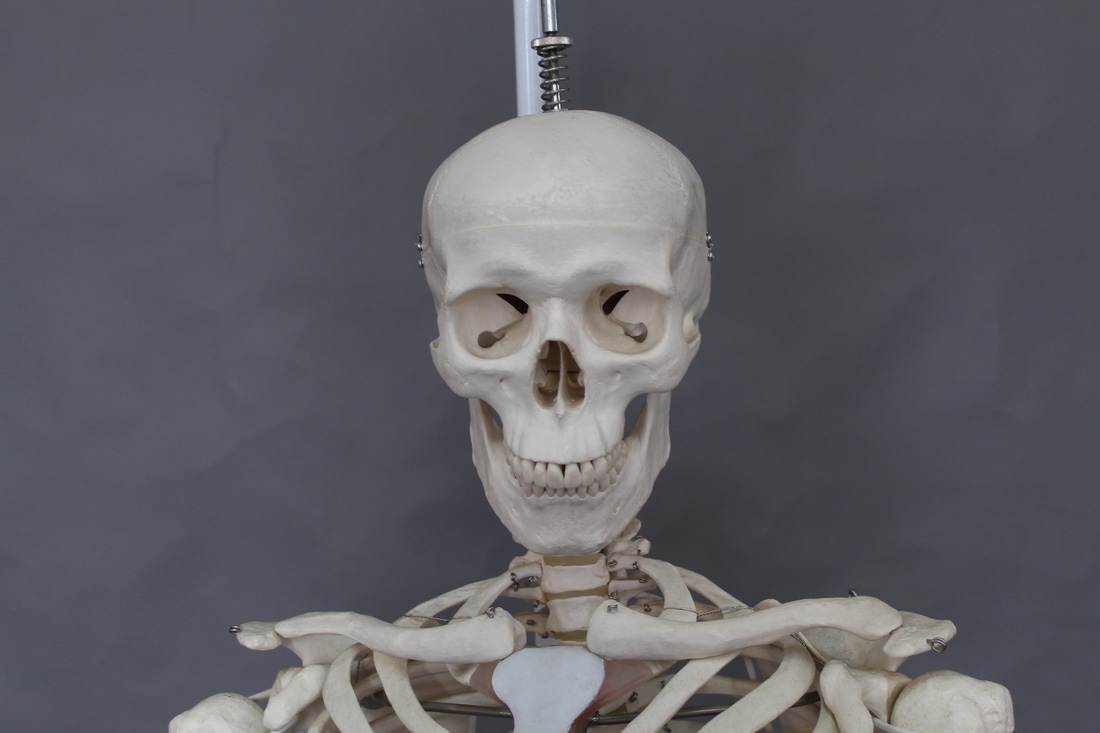
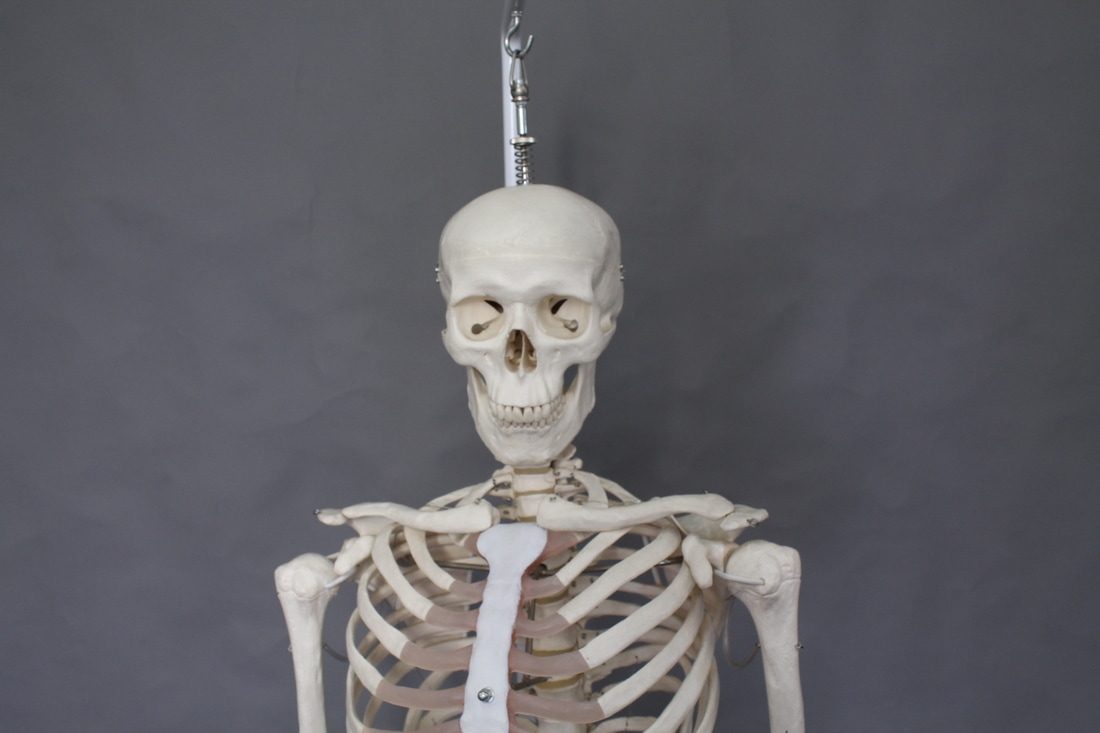
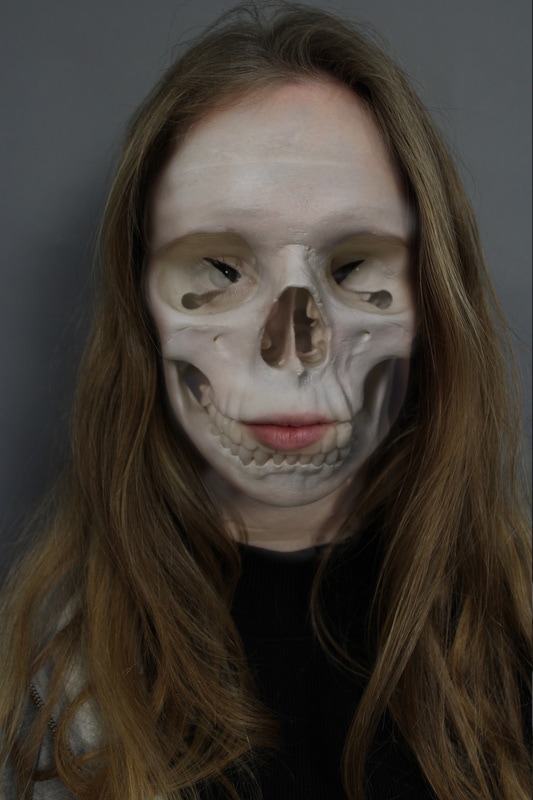
I was really happy with this outcome as the skeleton fits the face well
I also took photographs of a human anatomy model and used the same technique to create the image below:
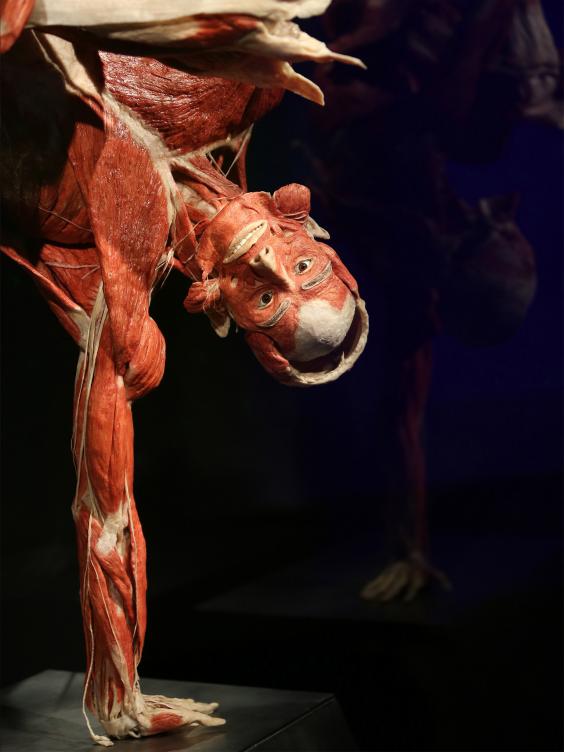
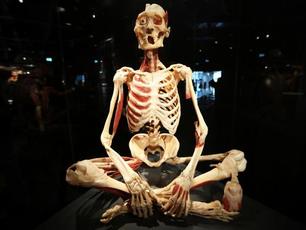
Gunther Von Hagens
In 2002 von Hagens performed the first public autopsy in the UK in 170 years. Before performing the autopsy, von Hagens had received a letter from Her Majesty's Inspector of Anatomy, the British government official responsible for regulating the educational use of cadavers. The letter warned von Hagens that performing a public autopsy would be a criminal act under section 11 of the Anatomy Act 1984.
|
|
Three Strands
Strand 1- Structure and Contrast
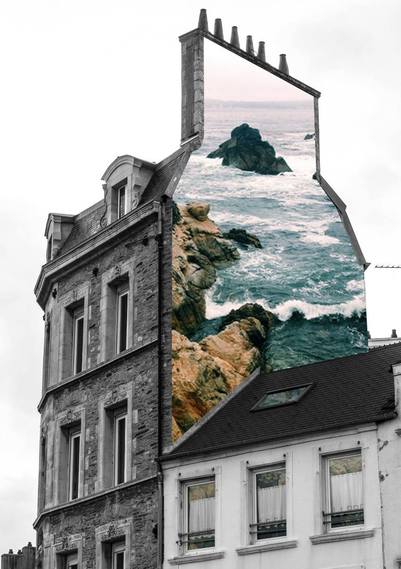
For this strand I looked into the work of Merve Ozaslan and Jose Davilla. I like how the contrast between photographs in colour/b&w and empty space or a new, sharp photo reflects a feeling of structure. To create this response, I took photographs of buildings in London, as well as photographs in the woods. I uploaded them to photoshop and layered them on top of eachother. I used the magnetic laso tool to select the parts of the top image I wanted to remove. I carried on this process until I was happy with the image produced.
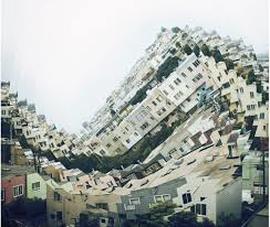
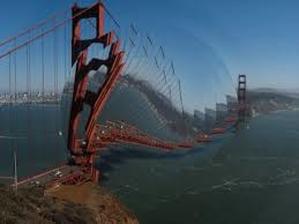
Merve Ozaslan
|

In this image, composition is used to create an interesting photograph where the effect is incorporated into the original photograph. The use of depth is also effective and although the original image obviously didn't have water outside the window; it feels strangely plausible that this is what the subjects are looking at, even though it is so surreal.
|
|
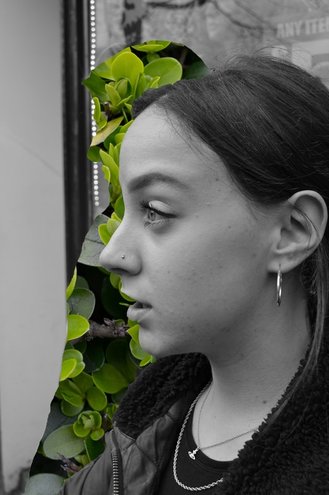
Artist and Me:
|
My response:
More responses: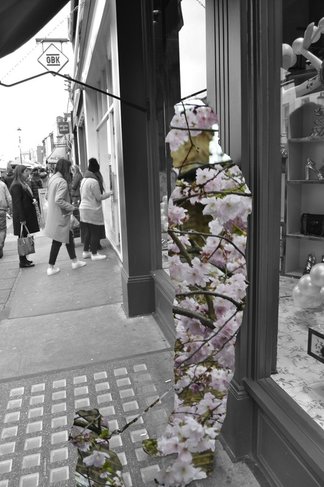
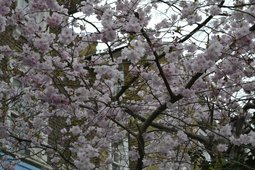
The pink in the blossom contrasts yet complements the grey in the monochrome background.
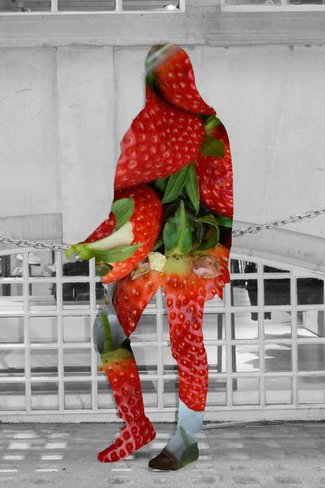
For this response I decided to experiment with creating the effect in the background of the photograph. I don't like this result as I think lines are too harsh against the portrait, and I also don't like the background image and the green colour against the black and white.
|
Artist:

|
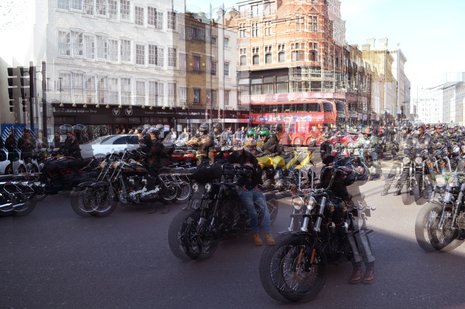
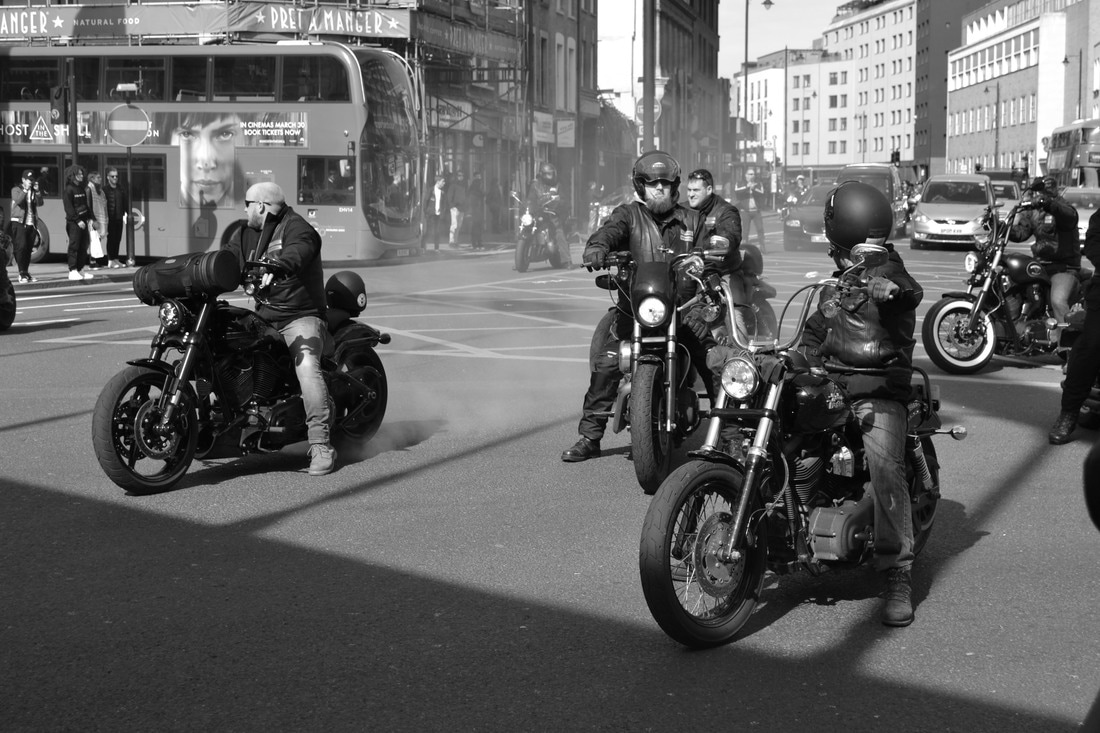
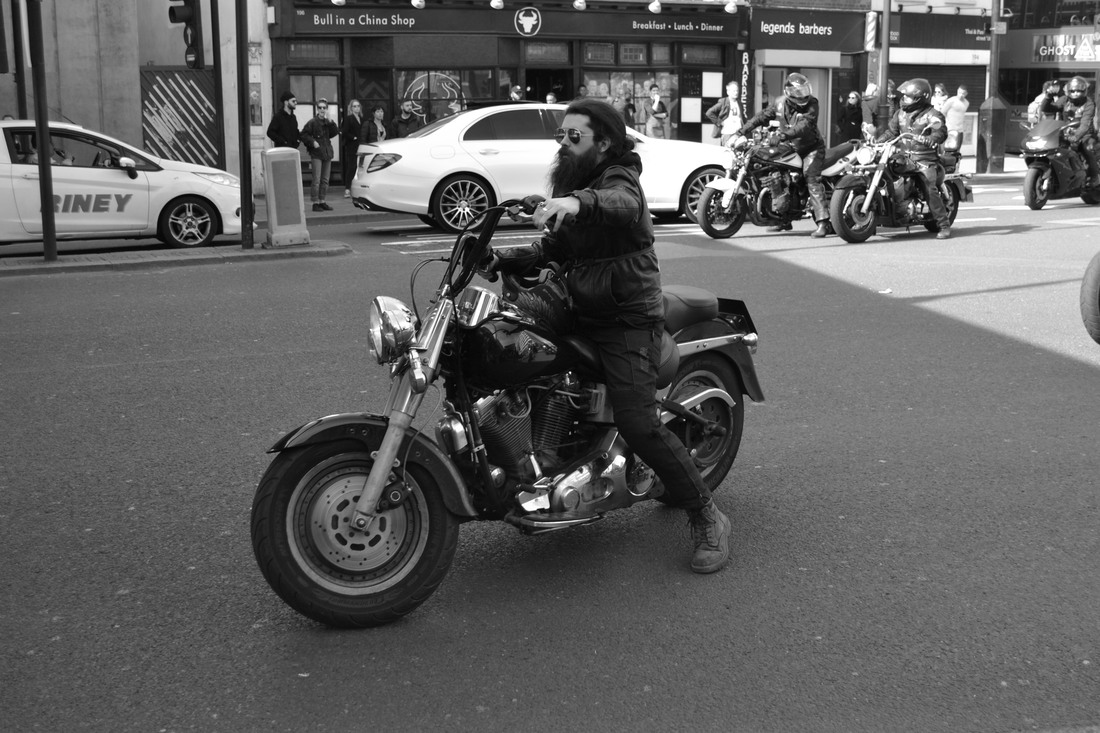
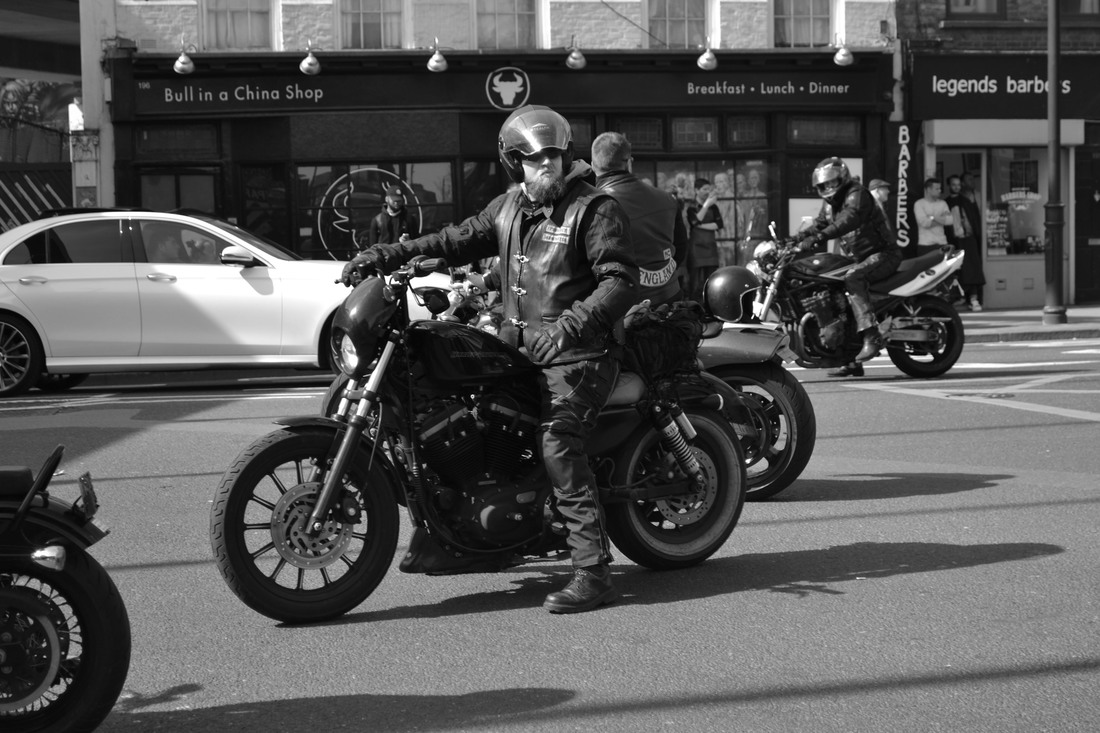
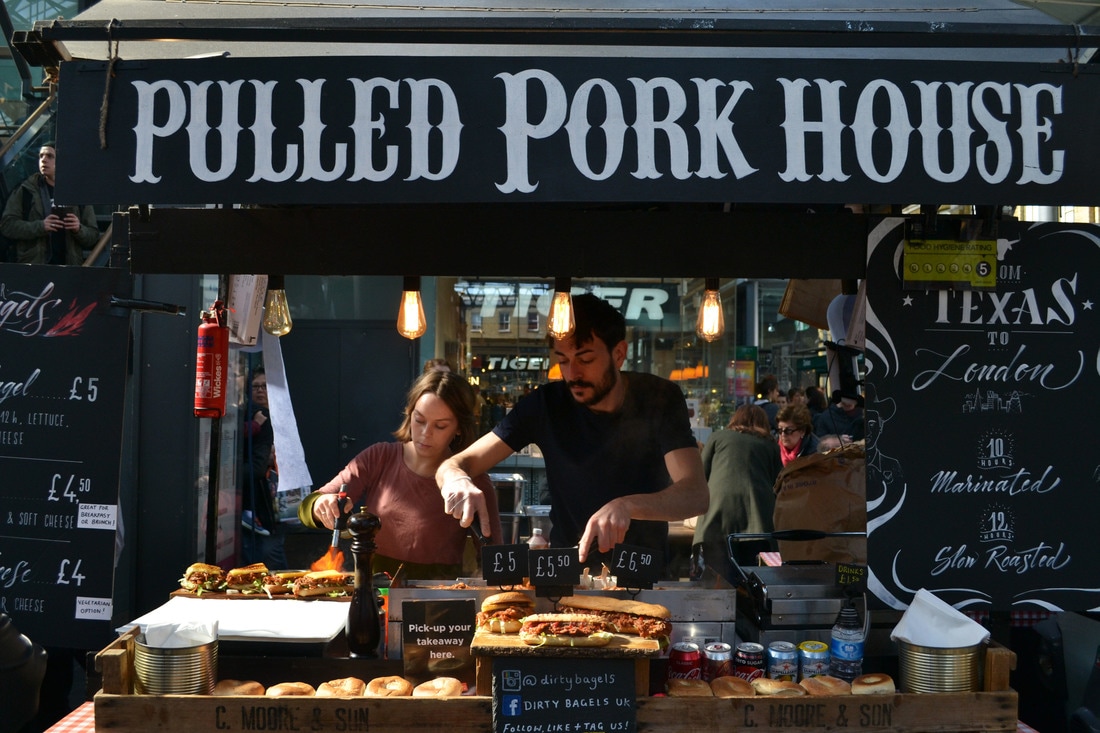
Strand 2: Street photography and the structure of the city
For this strand I went I went to Shoreditch to photograph different people around the different markets. I went to Brick Lane and Spitalfields and tried to capture people going about their day to day lives.
When I was there, there was a Hells Angels funeral procession which I photographed

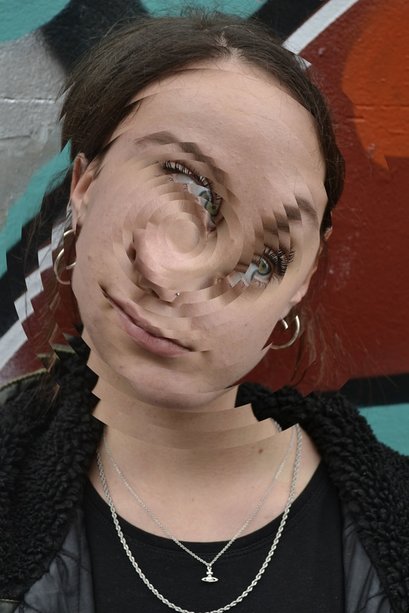
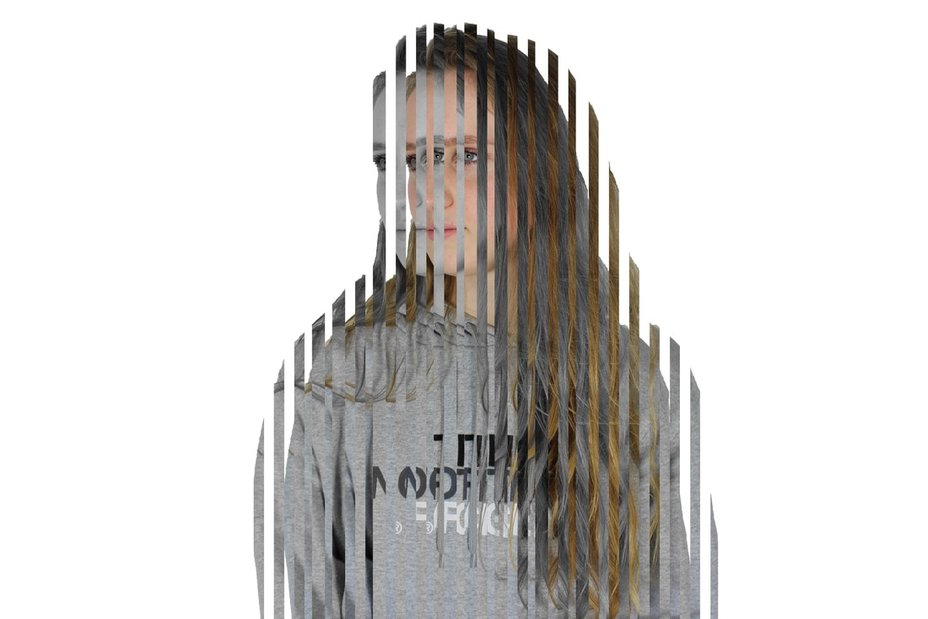
Strand 3: Deconstructing the face
For this strand I looked into the work of Nicolas Kennedy. This links to structure as the buildings are structures in themselves in the simple response to structure, but also the shapes created on top create structures in themselves as well as breaking down and changing the structure of the buildings. To create this response, I took photographs of buildings in London. I then uploded them onto photoshop. Using the shapes tool I used the 'elipse' shape to create a large cirlcle. Then, I chose make selection from the paths window. The next step was to copy the backgrouind layer and paste it onto the circle. Next, I rotated the circle using cmd shift t. After I was happy with the amount of rotation, I deleted it off the top layer so that the image underneath was visible. I the carried on to move and transform the photo to make sure it fitted with the other face on top.
Nicolas Kennedy
|
|
|
My Response:
How I created this:
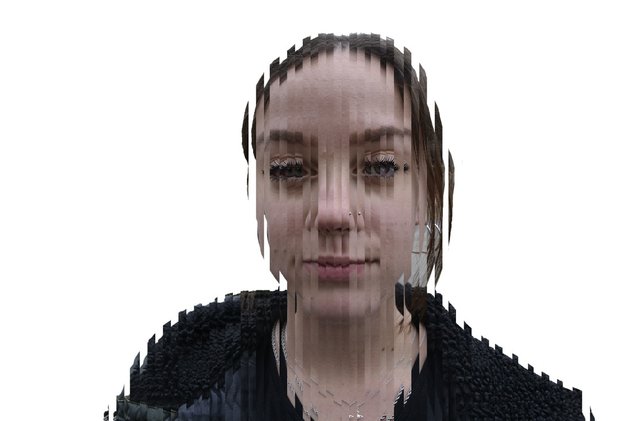
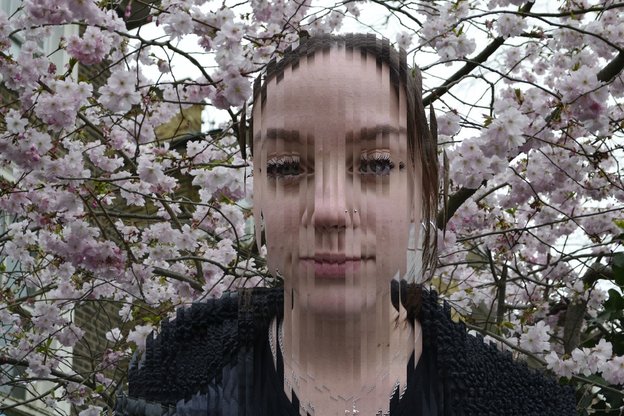
I then applied the same technique to portraits to create a distorted effect. I like the way which the technique translated and left the faces still recognisable, despite being so twisted. I think this could link to the idea of identity and the question of which features of our faces define us and make us distinguishable.

|
|
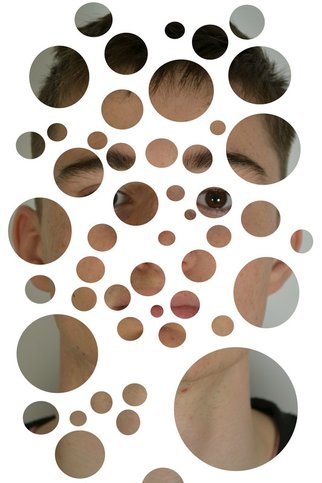
Geometric Shapes
After looking at using circles to distort a portrait, I decided to apply shapes using a different method to create a different type of distortion. This again could link to the theme of identity as your mind is having to literally 'fill in the blanks' to create the image. It is interesting to think that somebody who doesn't know the person in the photo could see the image differently to somebody who does, as they do not actually know what the missing features look like. This links to structure, no only because shapes are structures in themselves and because the structure of the photo is being broken down, but because identity is a concept which is a key part of the structure of society.
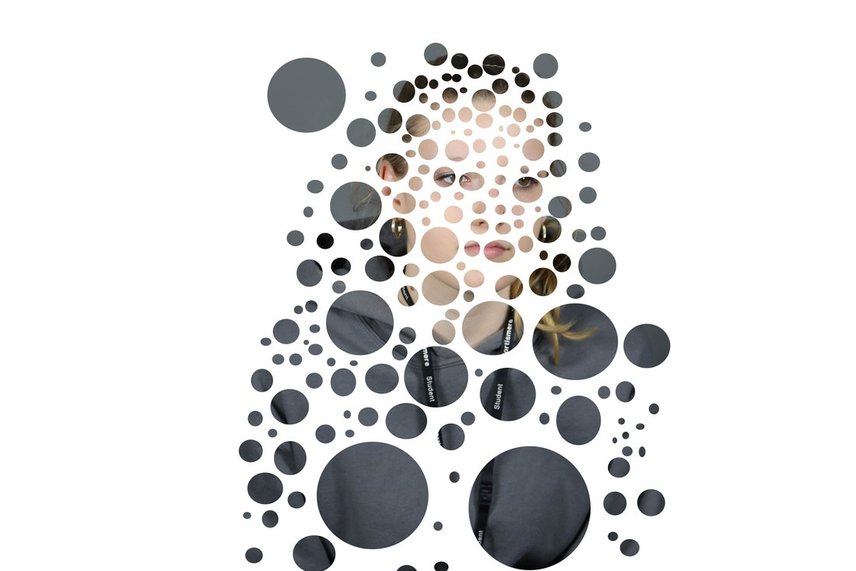
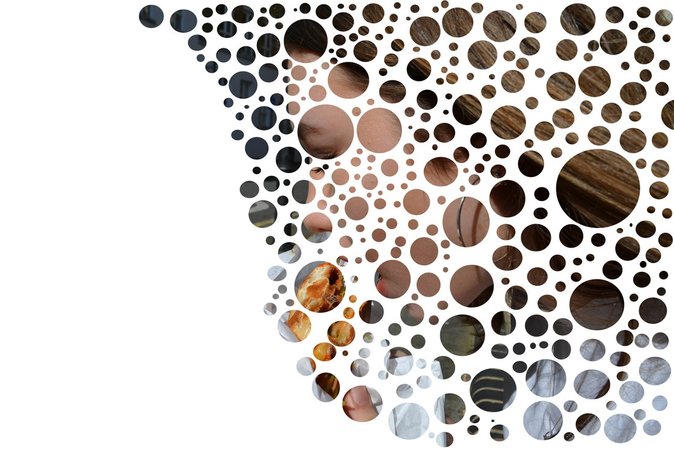
I decided to experiment with deconstructing a portrait into cirlces. I think the effect would work better on a more close up portrait with the circles creating more of a pattern as opposed to being random. Also, with a more close up portrait there would be more interesting detail in the circles instead of having the clothing a large part of it.
|
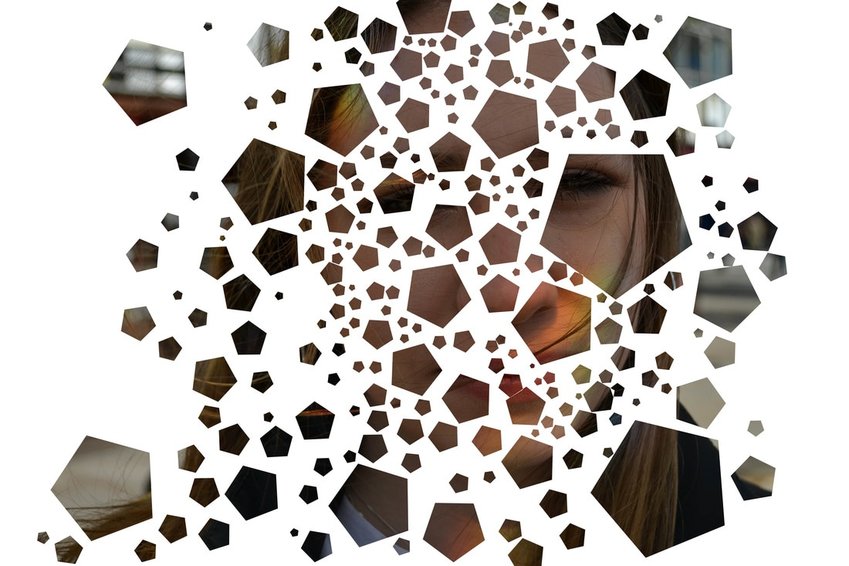
After experimenting with circles, I went on to look at pentagons. The problem I found with this was that because of the sharp corners, a lot of the shapes ended up fighting with each other when they were rotated. I think the shapes would work really well if I had taken more time to consider the composition and aligned the sides of the shapes to create a structure/pattern.
|
|
This was my favourite outcome as the fact that the subject was eating adds more interest and there is more to figure out through the gaps as it is not immediately and easily clear what the person in the image is doing.
|
|
Method:
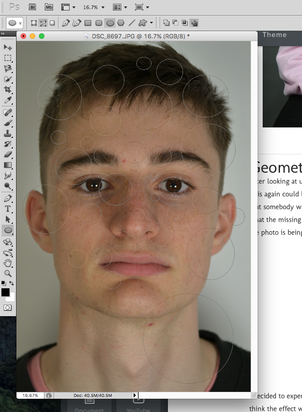
1)Using the elipse tool, select circles in the areas you wish to keep.
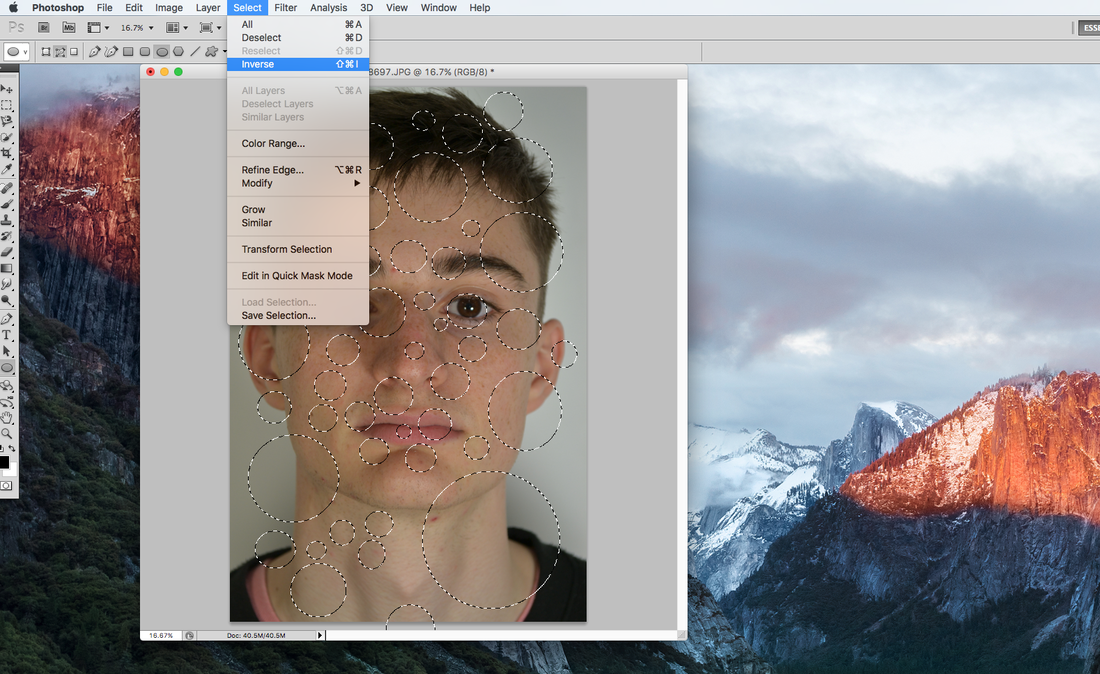
3) Go to the 'select' tab and click 'inverse'.
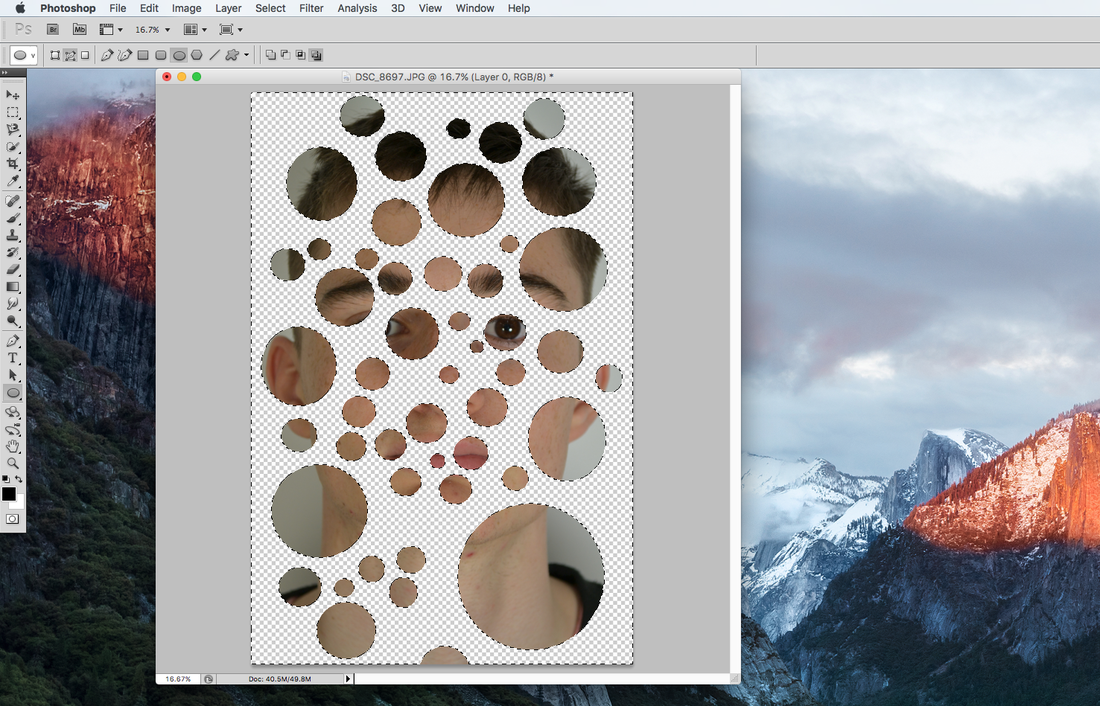
5)Click the backspace key to delete the selected area.
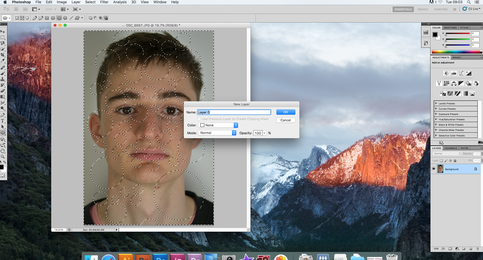
|
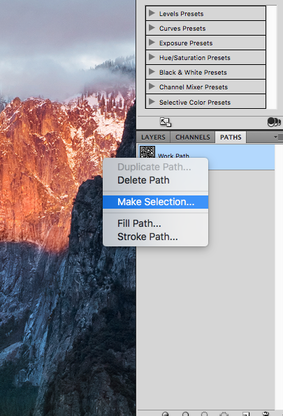
2) When you are happy with the selection, right click (ctrl click) on the 'work path' in paths and choose 'make selection'.
4)Unlock the layer by clicking on the padlock icon in the layers bar and then 'ok'.
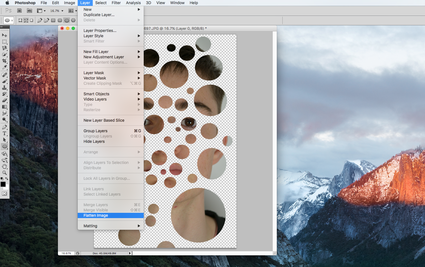
6) Go to the layers tab and select 'flatten image'
|
Merging

|
|
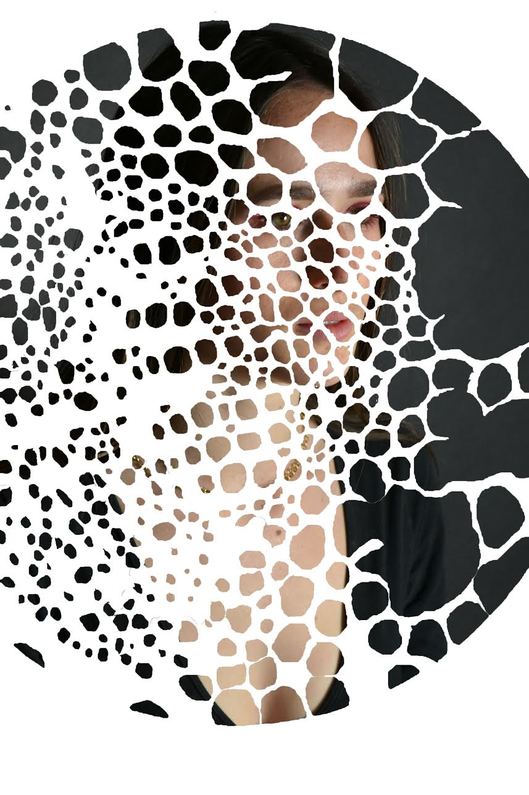
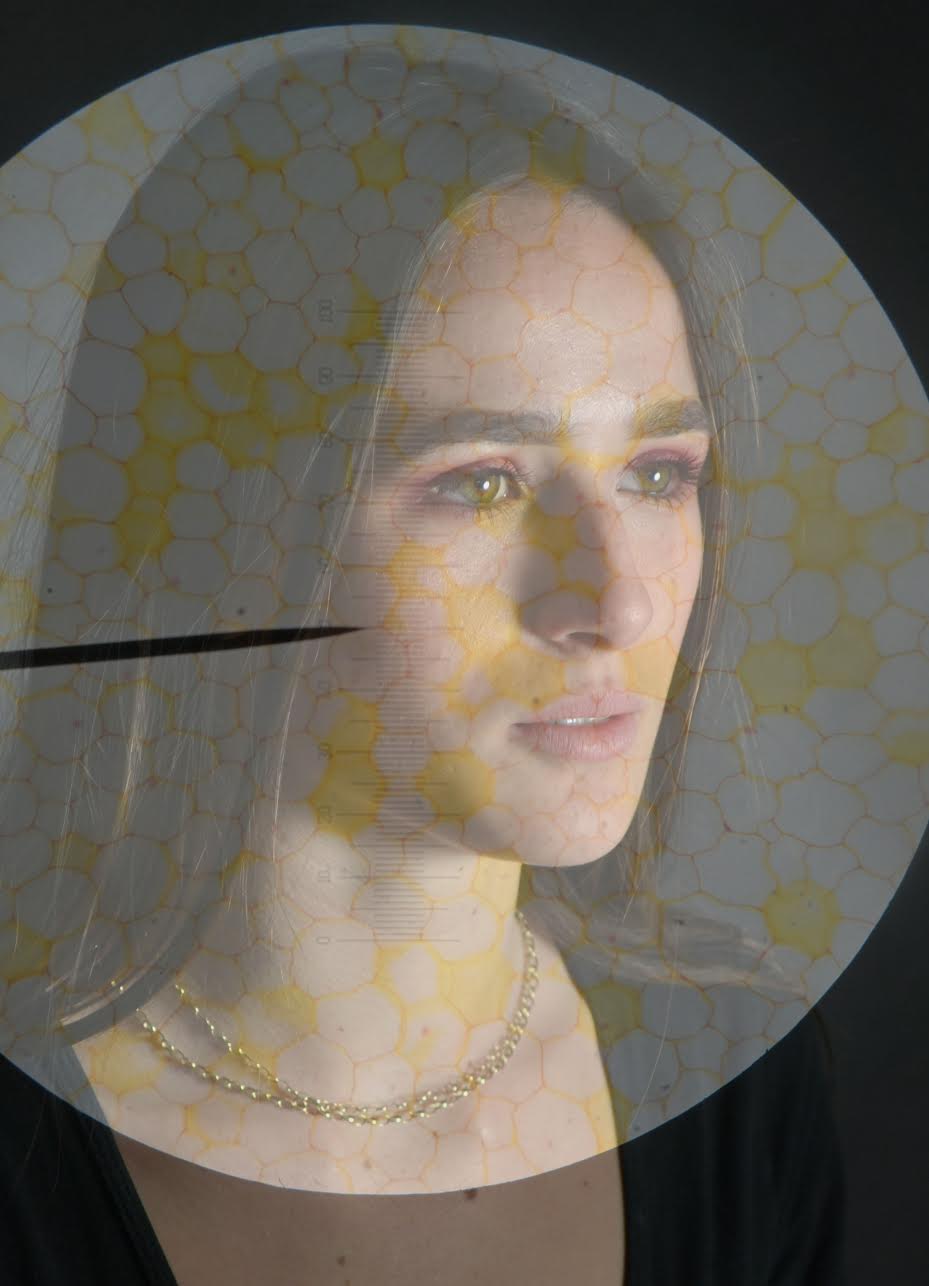
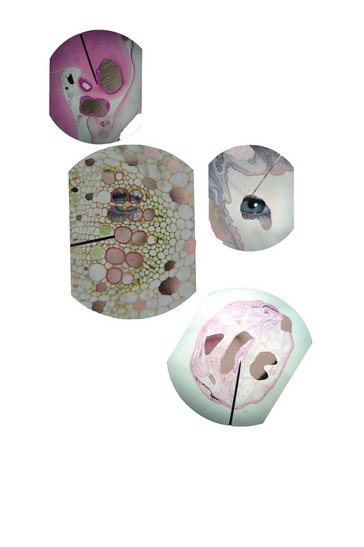
Applying a structure/meaning to the manipulation: Cells
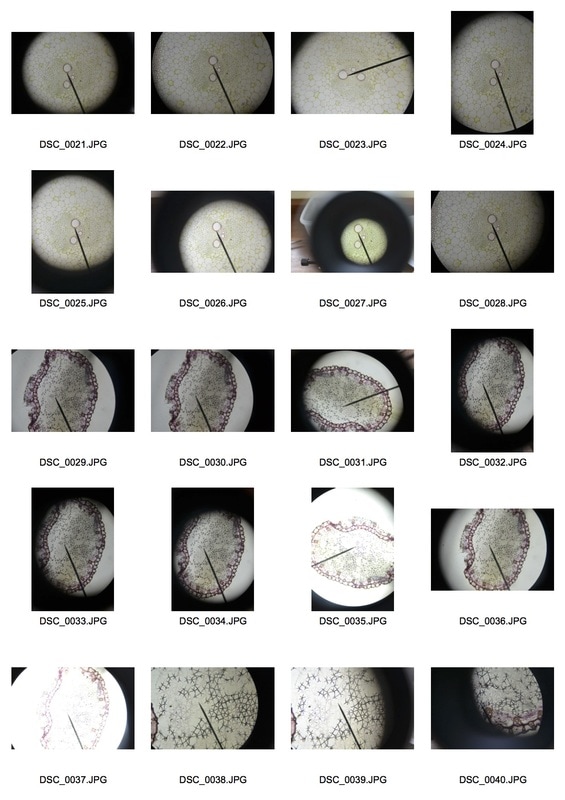
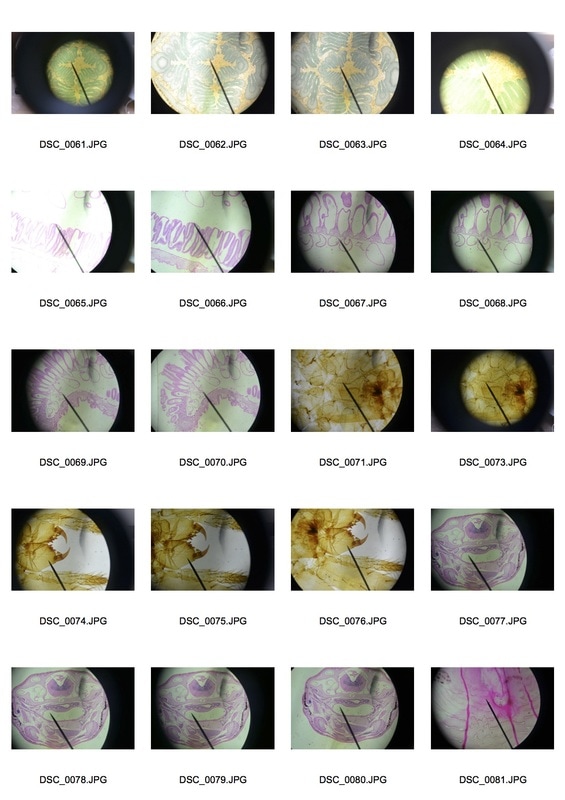
After looking at the patterns created, I started thinking of different sources I could find patterns to use as a stencil. I went to the biology labs to take photos of different cells through the microscope.

|


|
|
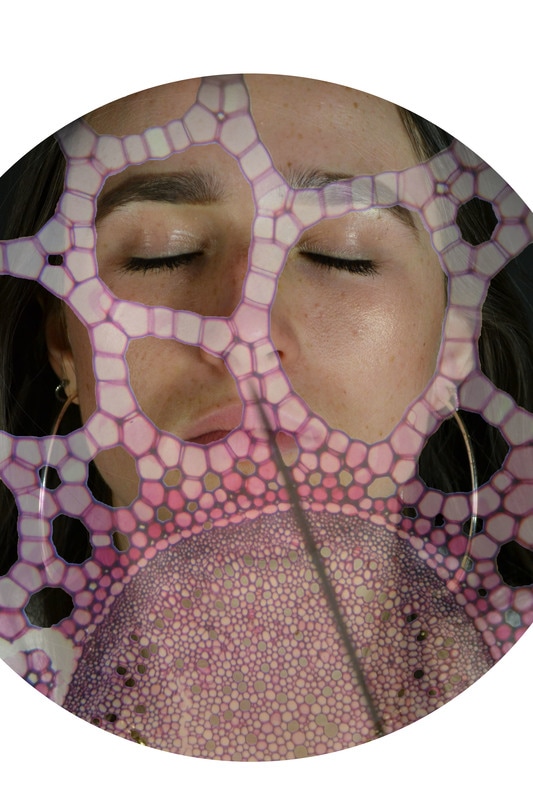
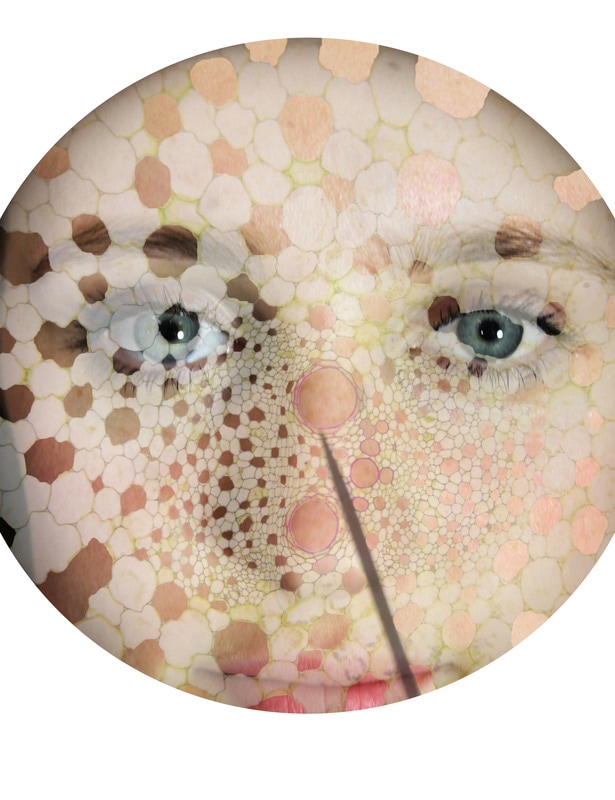
Layered portraits
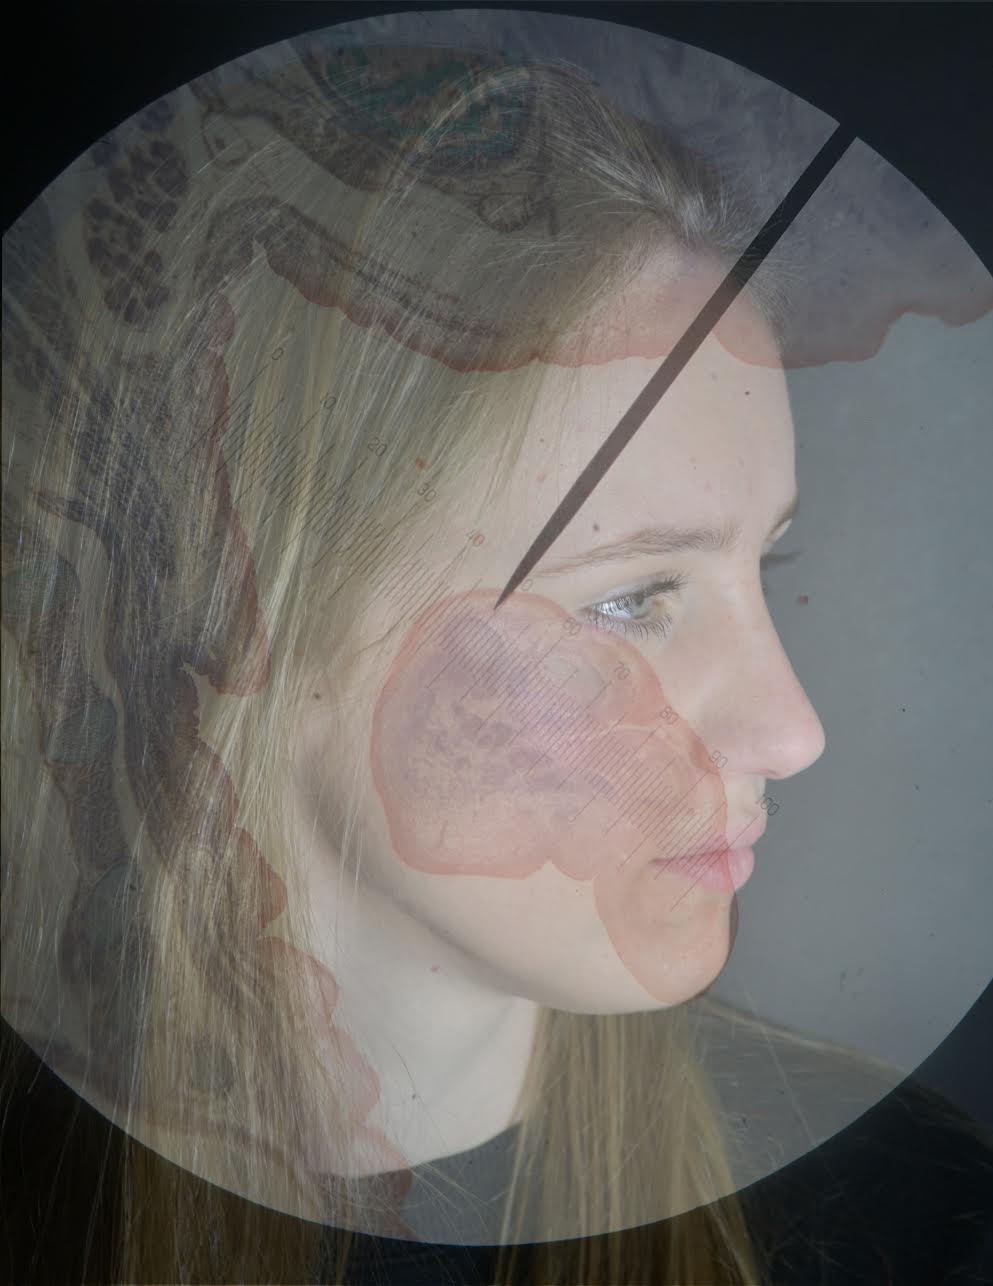
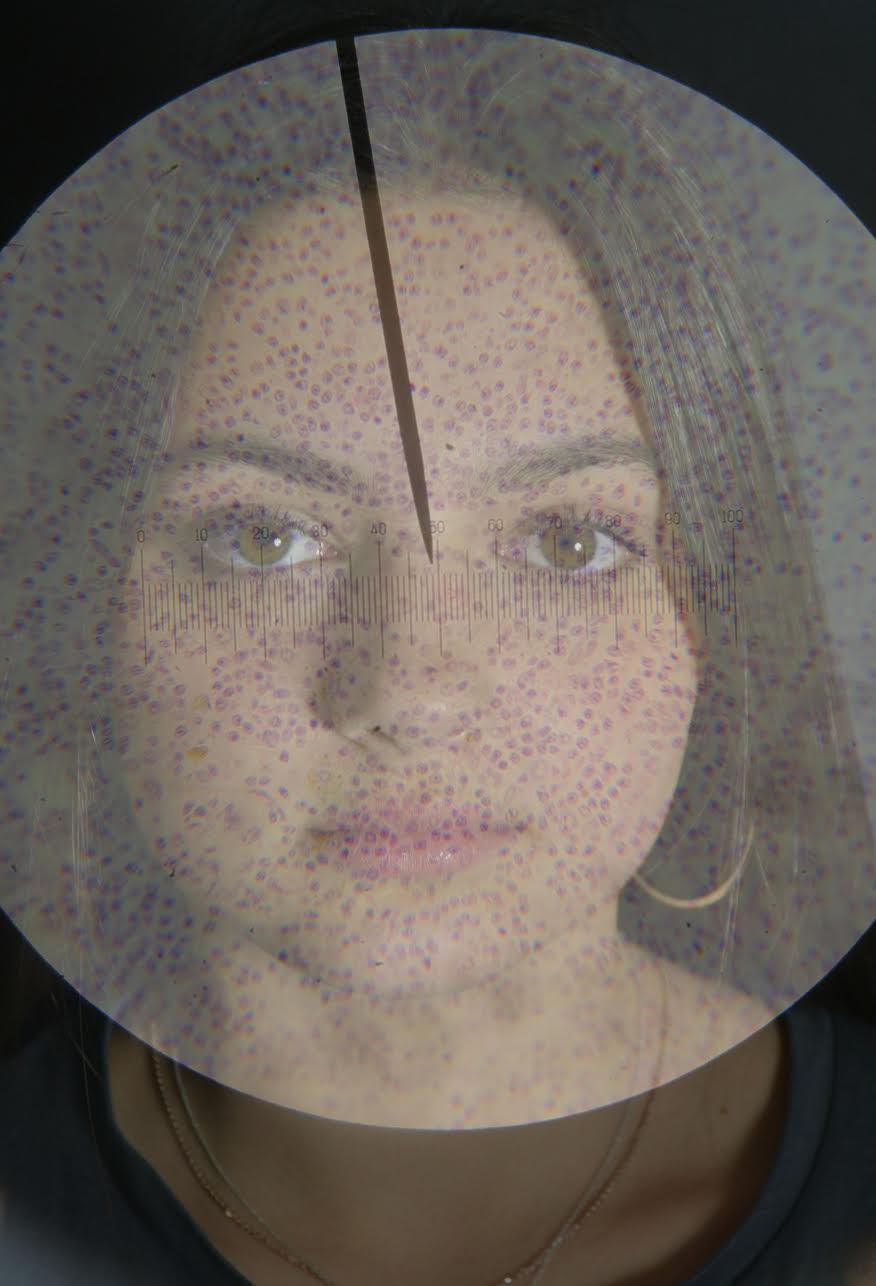
To create these portraits I opened the portrait on photoshop, then opened the photo of the cell. I copy and pasted the cell onto the portrait in a new layer. Next, I changed the opacity of the top layer and then used the free transform tool to rotate and move the cell into a position where I liked the composition.

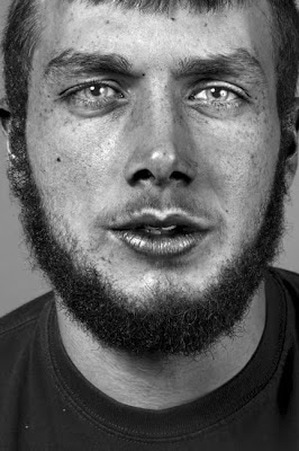
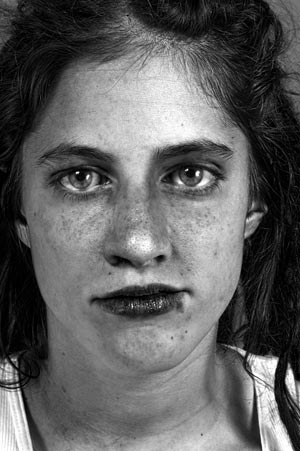
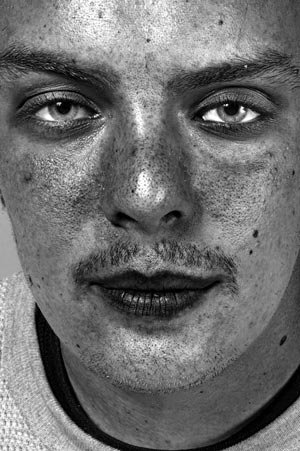
Nils Orth
'Untitled Faces' is the name of the collection of black and white portraits by Nils Orth. The portraits emphasise the imperfections in the subjects face, this is done by using a strong contrast and black and white with a high red adjustment. The series challenges the conventions of portraiture.
|
|
|
My response:
|
|
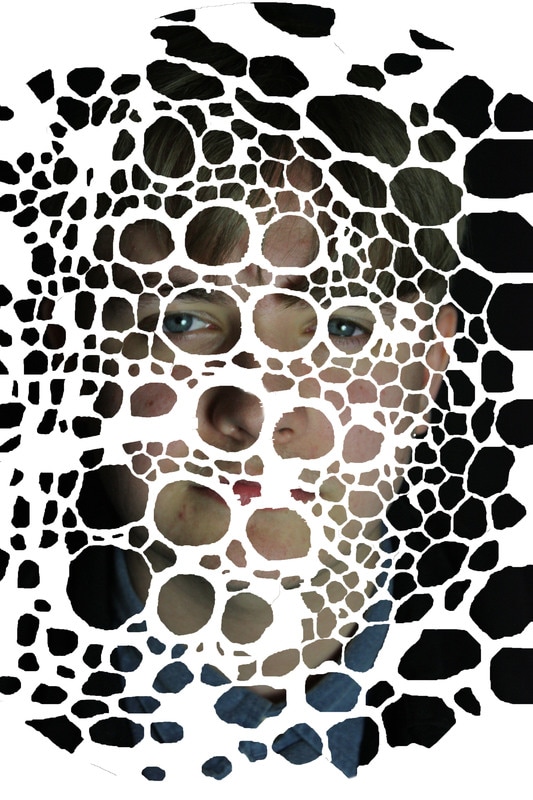
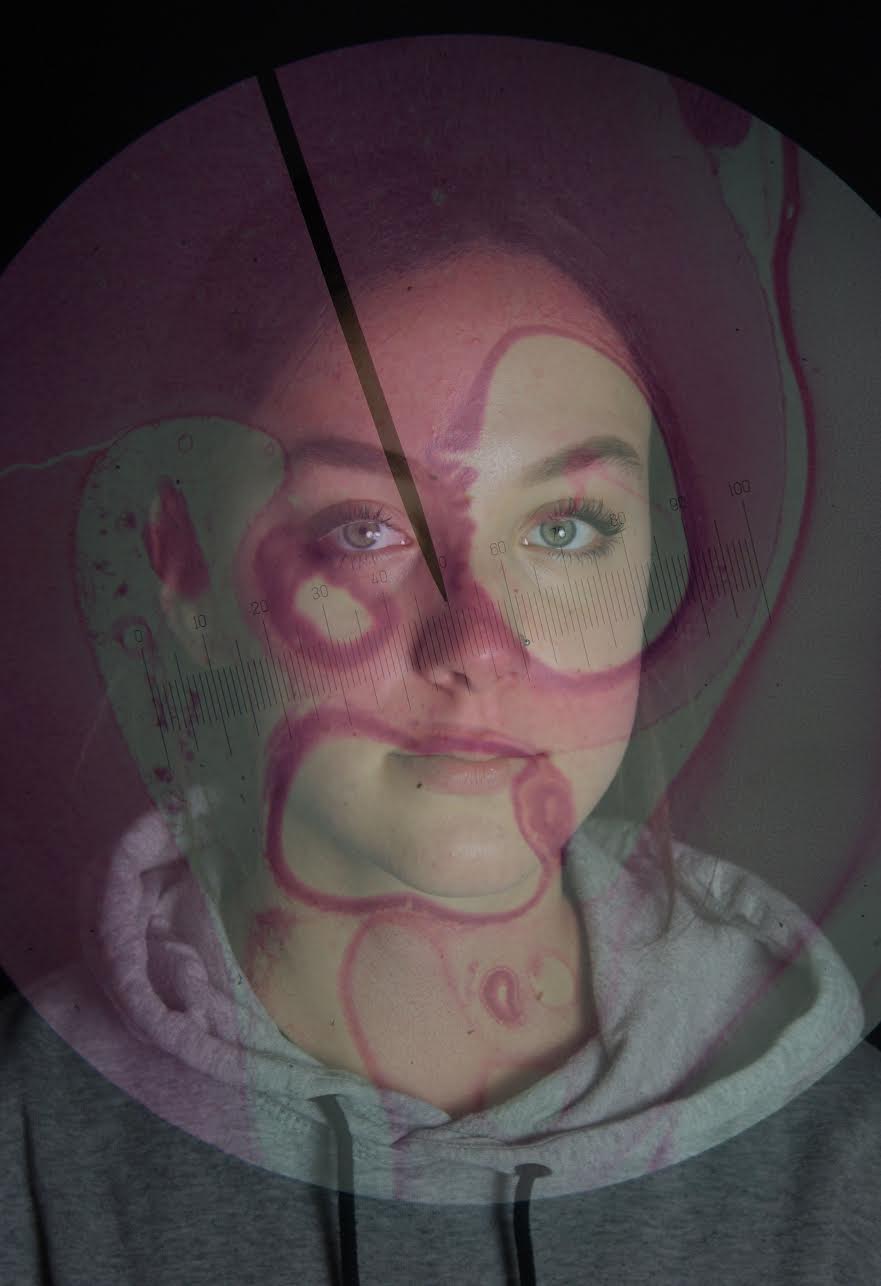
Klari Reis
Klari Reis constantly experiments with new ways to apply materials and methods. She is driven by curiosity and her desire to explore and document the natural and unnatural. She works in San Francisco and collaborates with local biomedical companies and receives inspiration from the cutting edge of biological techniques and discoveries.
|
Klari Reis' work gave me the idea to create a portrait shown through a collection of petri dishes. To experiment with this idea and give a quick test to the concept, I created the image on the left by layering and cutting out different photos of cells through a microscope. i then selected each cell, clicked inverse, and deleted the excess portray, leaving white space. To develop this, I would go back the the lab and take more photos through the microscope (trying to keep them in perfect circles this time). I would then spend more time selecting small details to cut out of each cell. I could also change the opacity to experiment with adding texture. Additionally, I could try growing my own petri dishes and using those as the layers, or I could do a real version where i print the portrait and cut it out into the sizes of the petri dishes and stick it behind them.
|
Development:
To create this, I followed the same steps as the previous response, however, using the quick selection tool I cut out sections on the top layer. This added more of a sense of dimension to the photo.
|
|
Final Piece
For my final piece I decided to apply a similar technique to the one I used in my development.
Method:
To do this, 1) I layered the photo of the cell over the portrait. 2) I changed the opacity so that I could move the layer into a position where I was happy with the composition. 3)I then increased the contrast so that the quick selection tool would be able to identify the lines between the sections I wanted to cut out. 4)I used the quick select tool to trace the pattern of the cell and select all the circular shapes (this was difficult as the tool often joined the smaller selected areas together into one big section). 5)Then, I went to the 'select' tab and clicked on 'inverse'. 6) I selected the background layer and clicked the backspace key to delete all the area around the circles. 7)Then I hid the top layer to see what the outcome was. 8)When I was happy with the image, I deleted the top layer.